This blog entry features an illustrated walkthrough of the install of one of our booster delete kits on a Mazda MX-5 (also known as Mazda Miata) NA generation, this kit effectively converts the car to manual brakes and does so in a way that doesn’t create an overly heavy pedal.
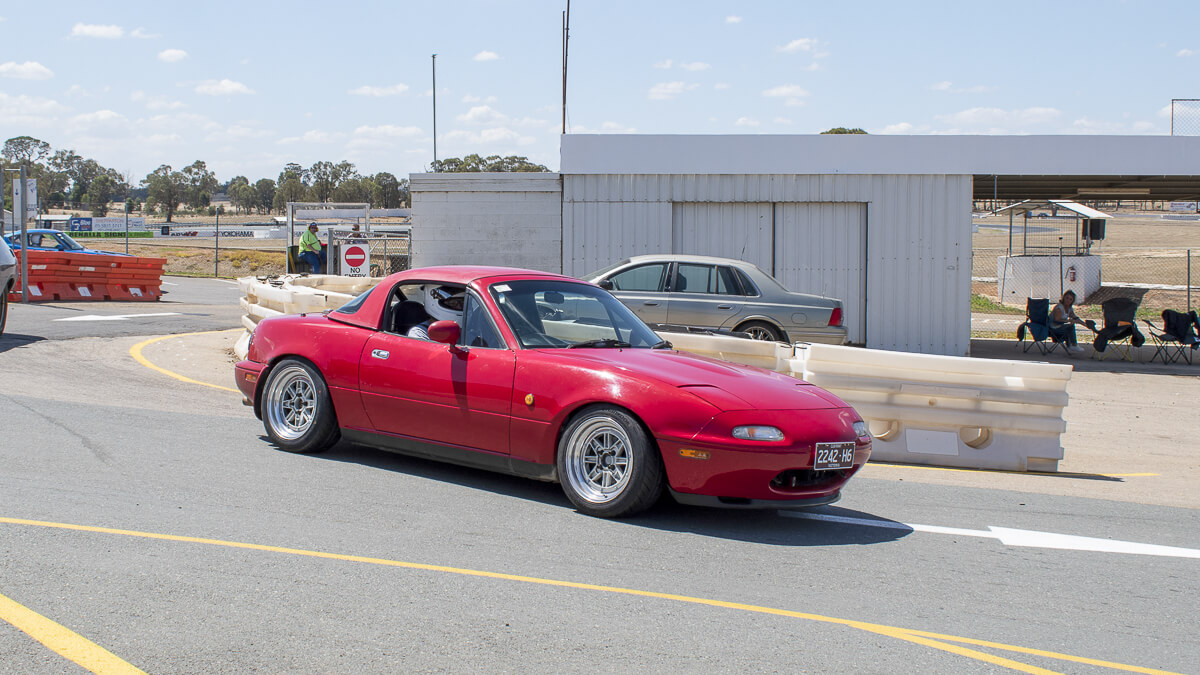
The car we are installing the booster delete kit to is our red 91 NA6 which is a 1.6L, non-power steering car.
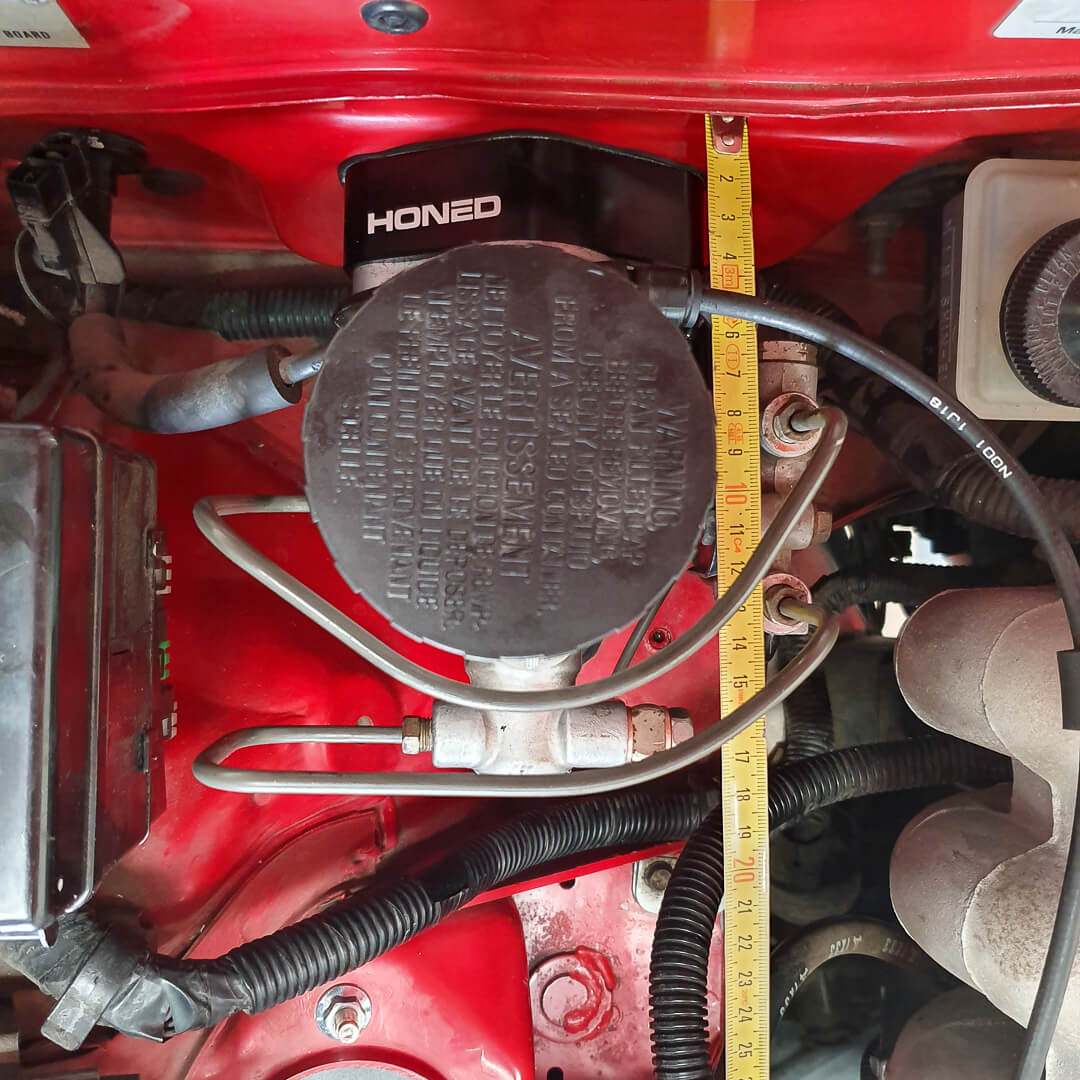
Current modifications include Honed pedal set, Honed MX-5 Fire Extinguisher Mount and MCA race coil-overs. The car is shod with 205/45R15 Hankook RS4 tyres.
The brakes are stock calipers and rotors with Winmax pads, W5 in the front and W3 in the rear.
We have been attending track days with the car at Winton Raceway in Victoria, Australia.
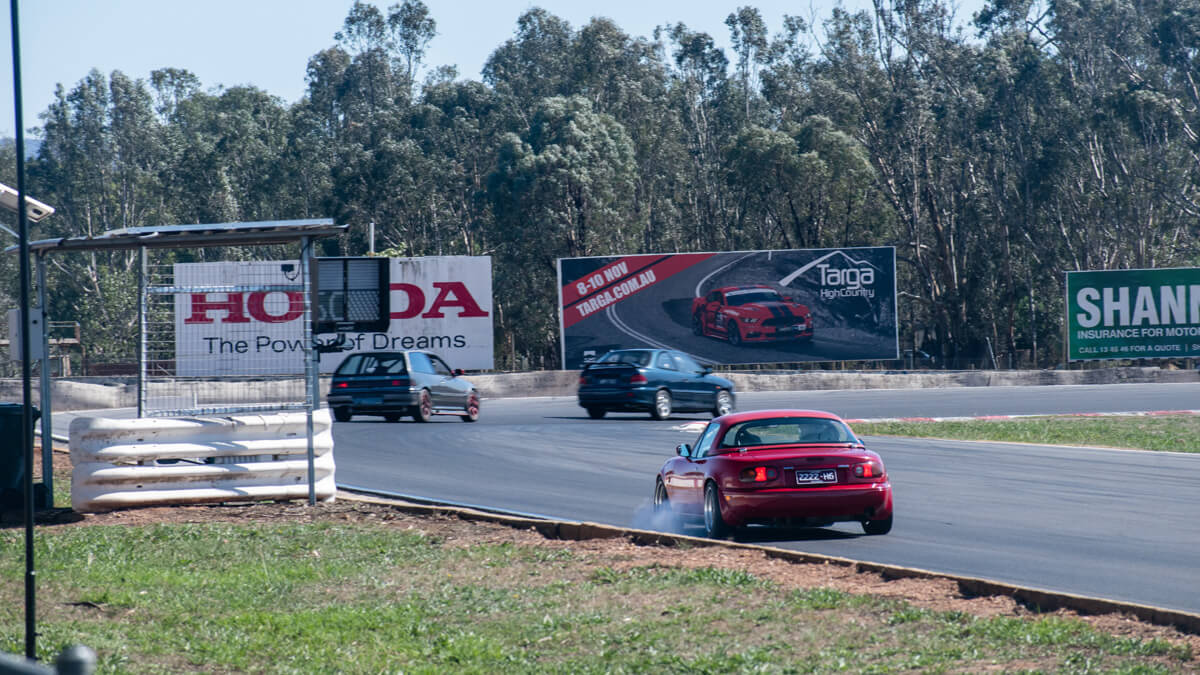
One comment that both Tom and I (Grant) made after driving the car was that the brakes felt over boosted and were not as easy to modulate as they could be. This is not a problem on the street but on the track when you are driving hard and heavy on all the inputs like the accelerator and steering wheel, the brake pedal needing a relatively light touch in order to not lock the brakes is out of place.
The benefits of manual brakes for motorsport are:
- Reduced compliance between the pedal and the master cylinder which translates to a firm pedal feel
- No lag between the pressure in the brake lines and the force on the pedal and thus improved braking control
- Reduced sensitivity which makes modulating brake force easier
- Weight reduction

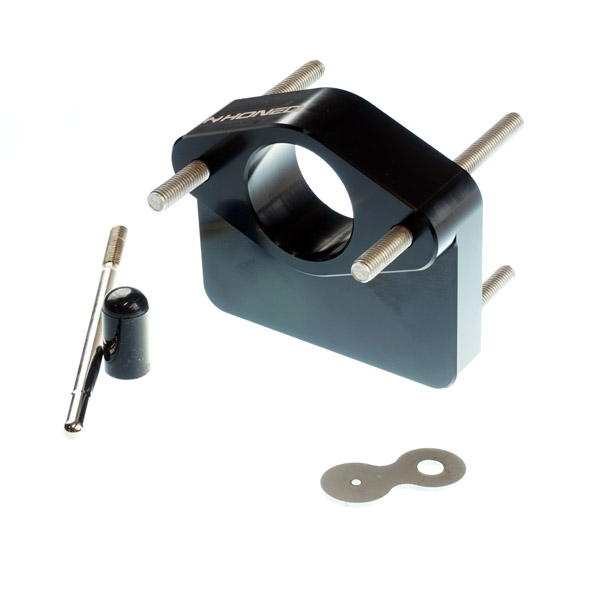
This is the kit in question, it consists of a firewall adapter, pushrod and vacuum block off cap. We also include a pedal drilling template.
You can find the product listing in our store here:
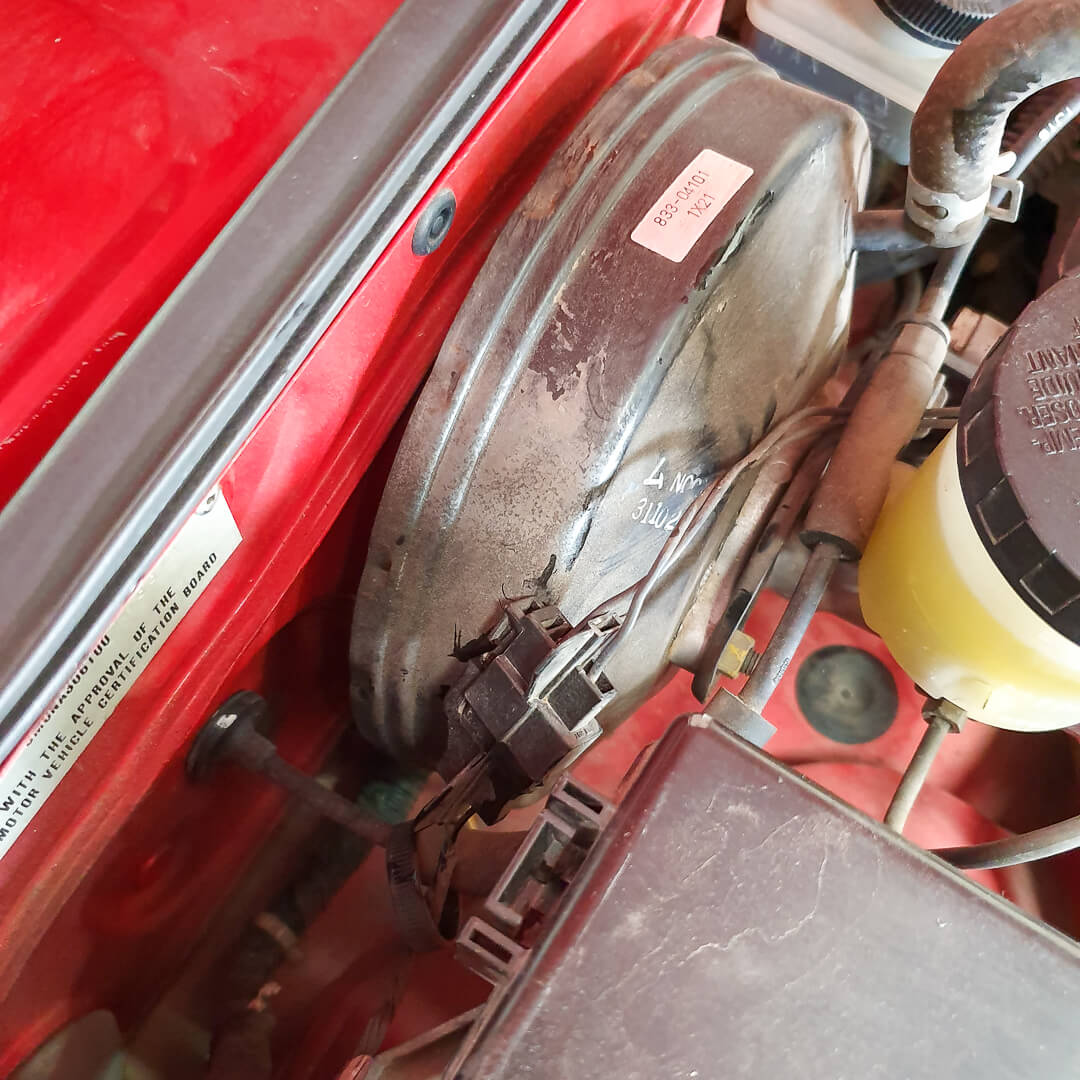
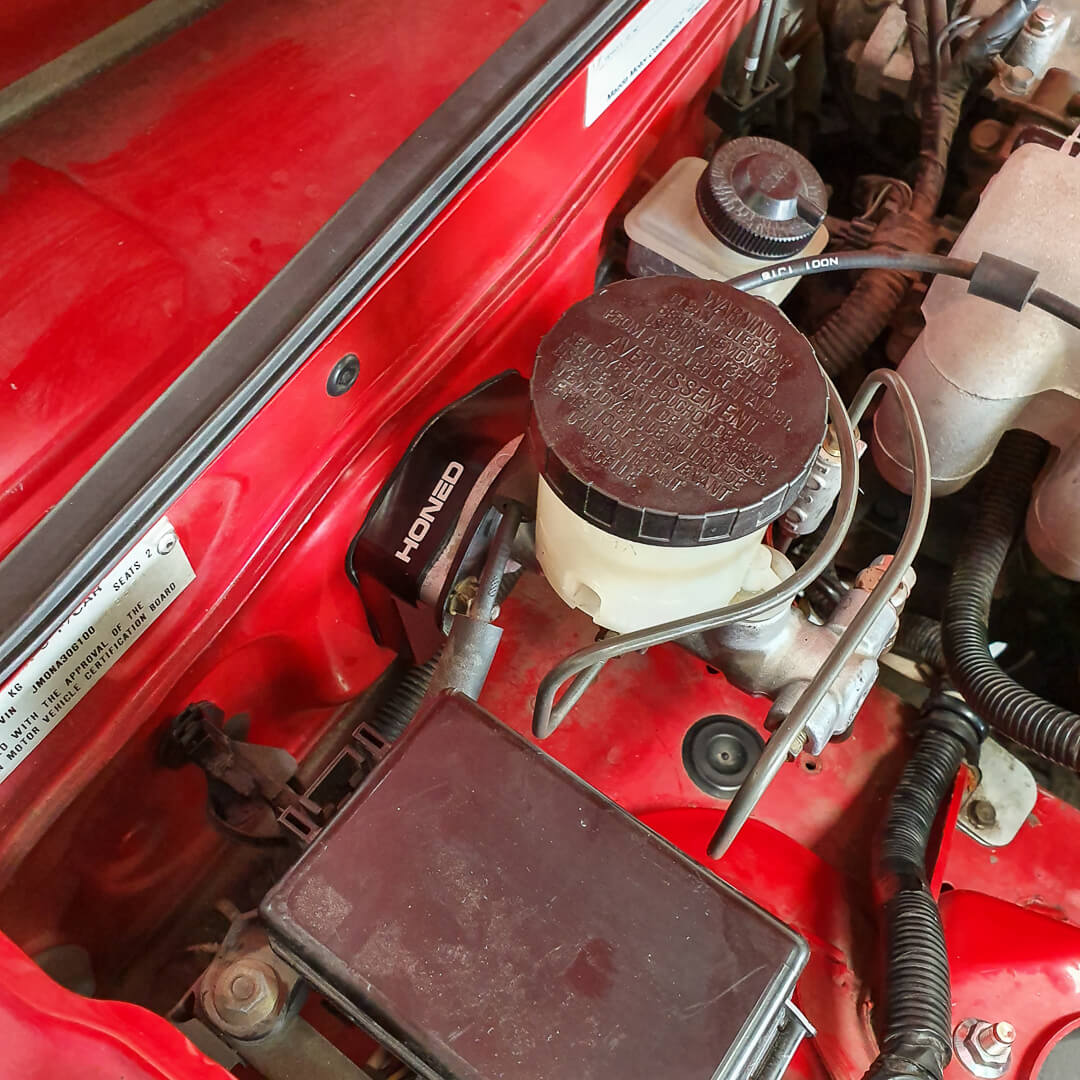
Here you can see the original set up with the vacuum assisted servo booster between the master cylinder and the firewall.
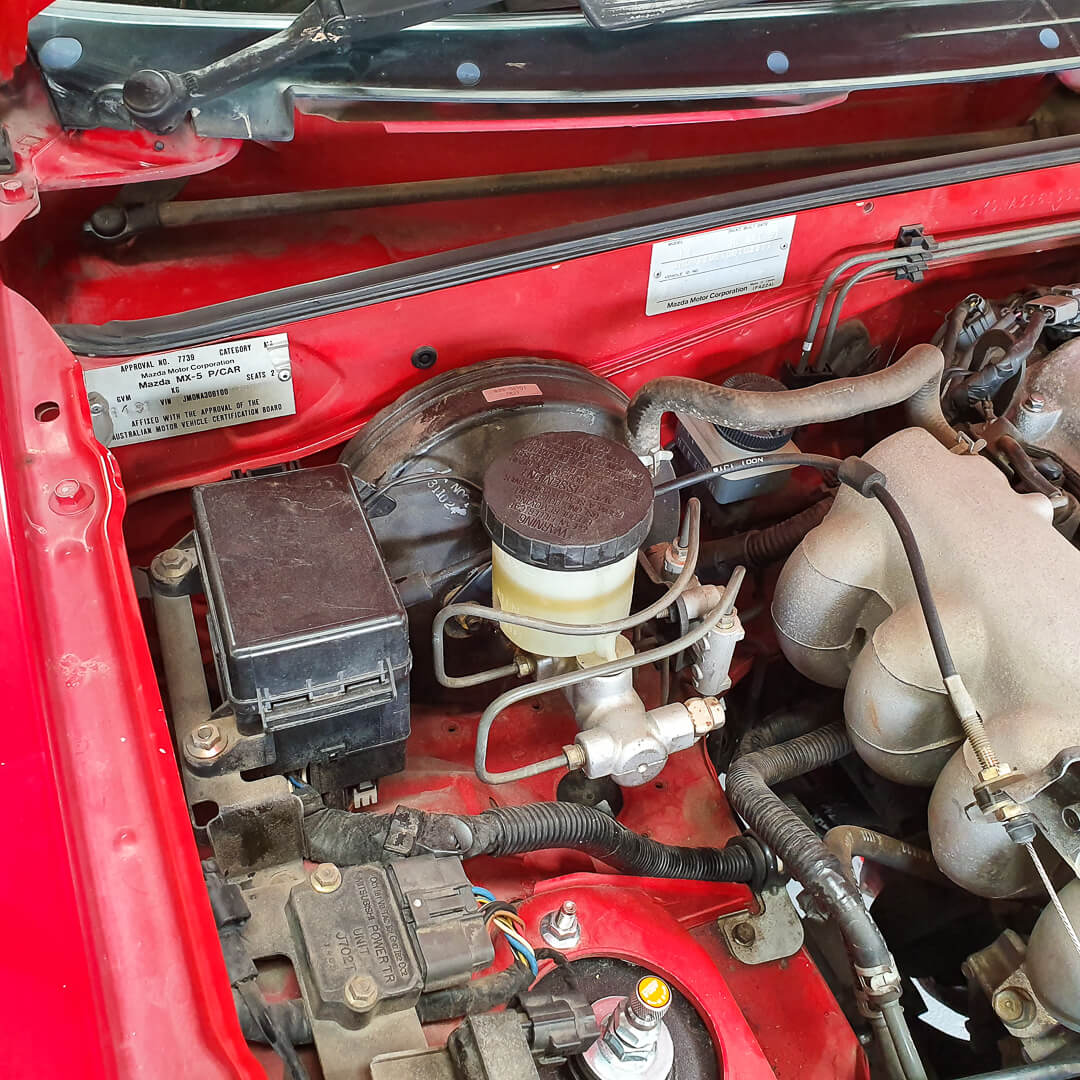
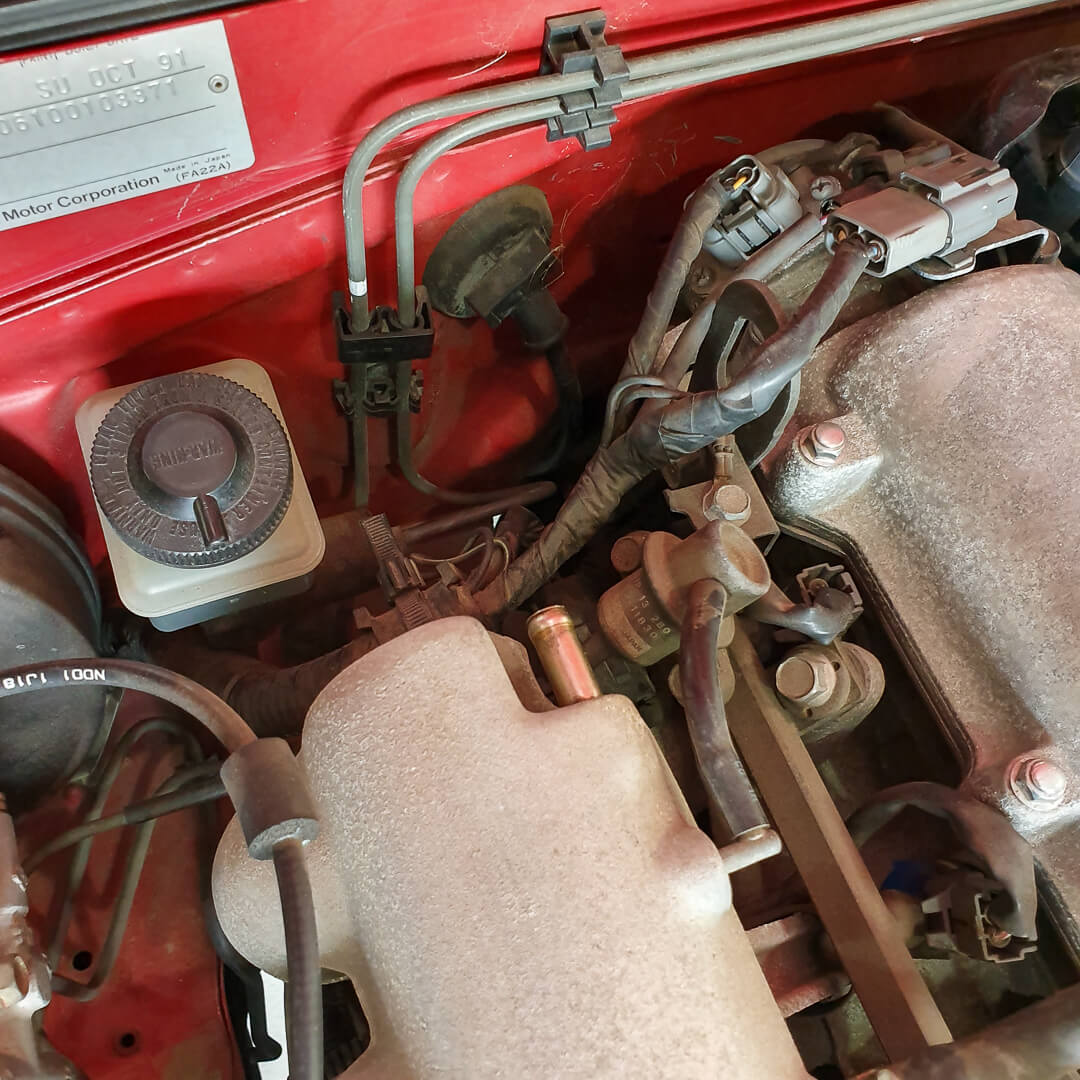
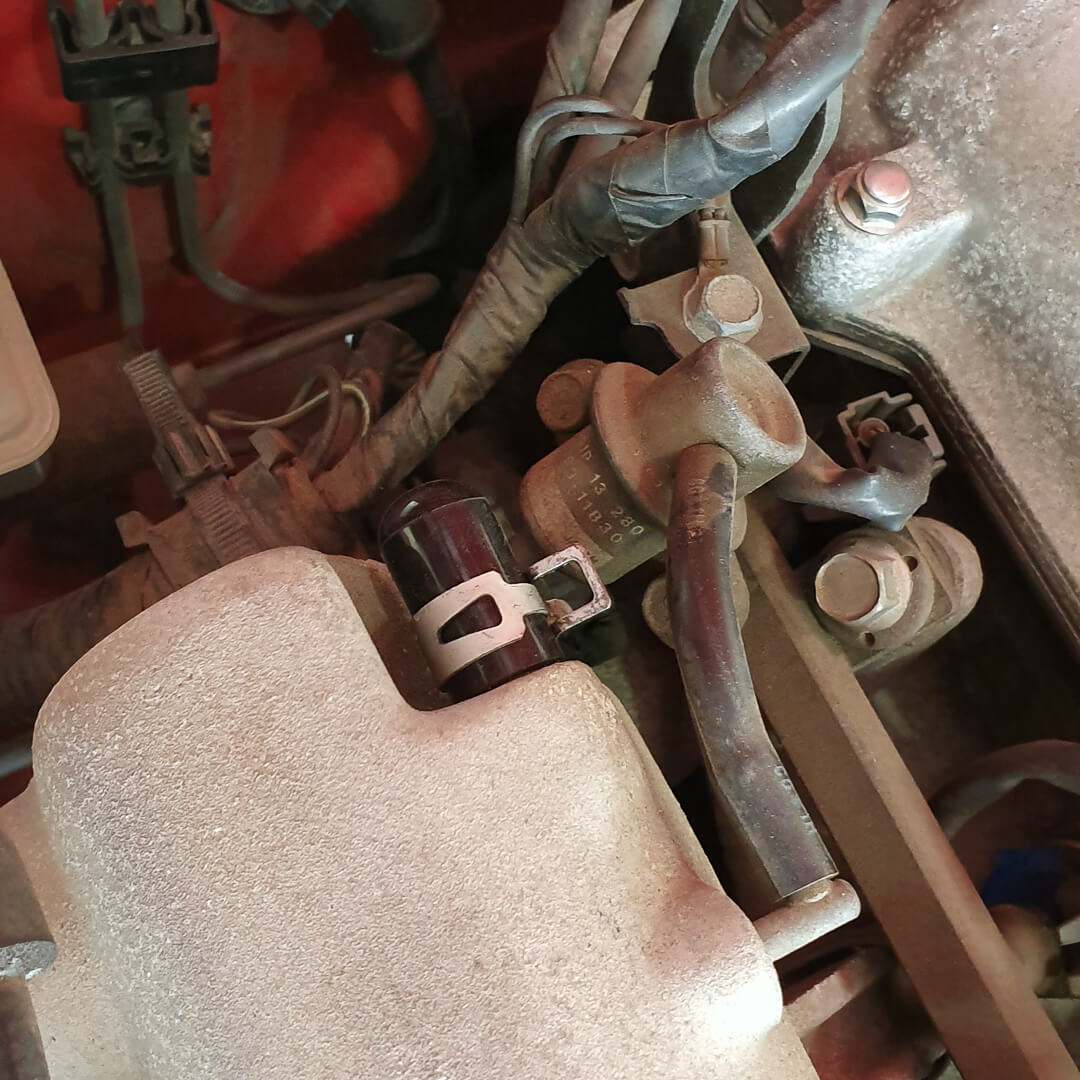
As the master cylinder needs to come out, everything connected to that needs to be undone. This means the fluid height sensor gets unplugged and the hard brake lines attached to the master cylinder and the proportioning valve are disconnected.
Now the master cylinder can be removed.
Next we disconnect the vacuum hose the connects between the booster and the intake manifold.
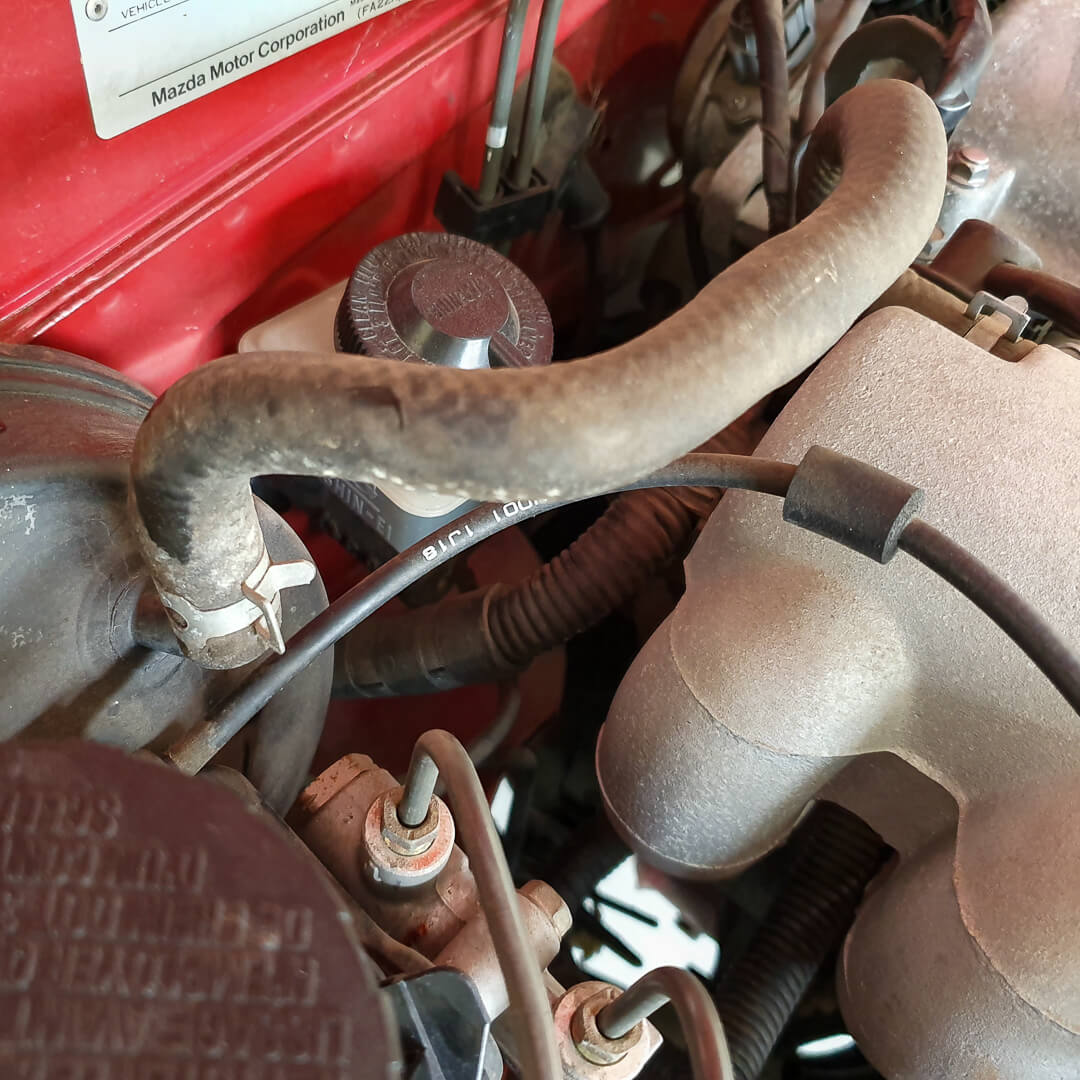
Pull the hose off and use the provided block off cap to seal the outlet on the intake manifold.
With the master cylinder removed, there is room to pull the booster out.

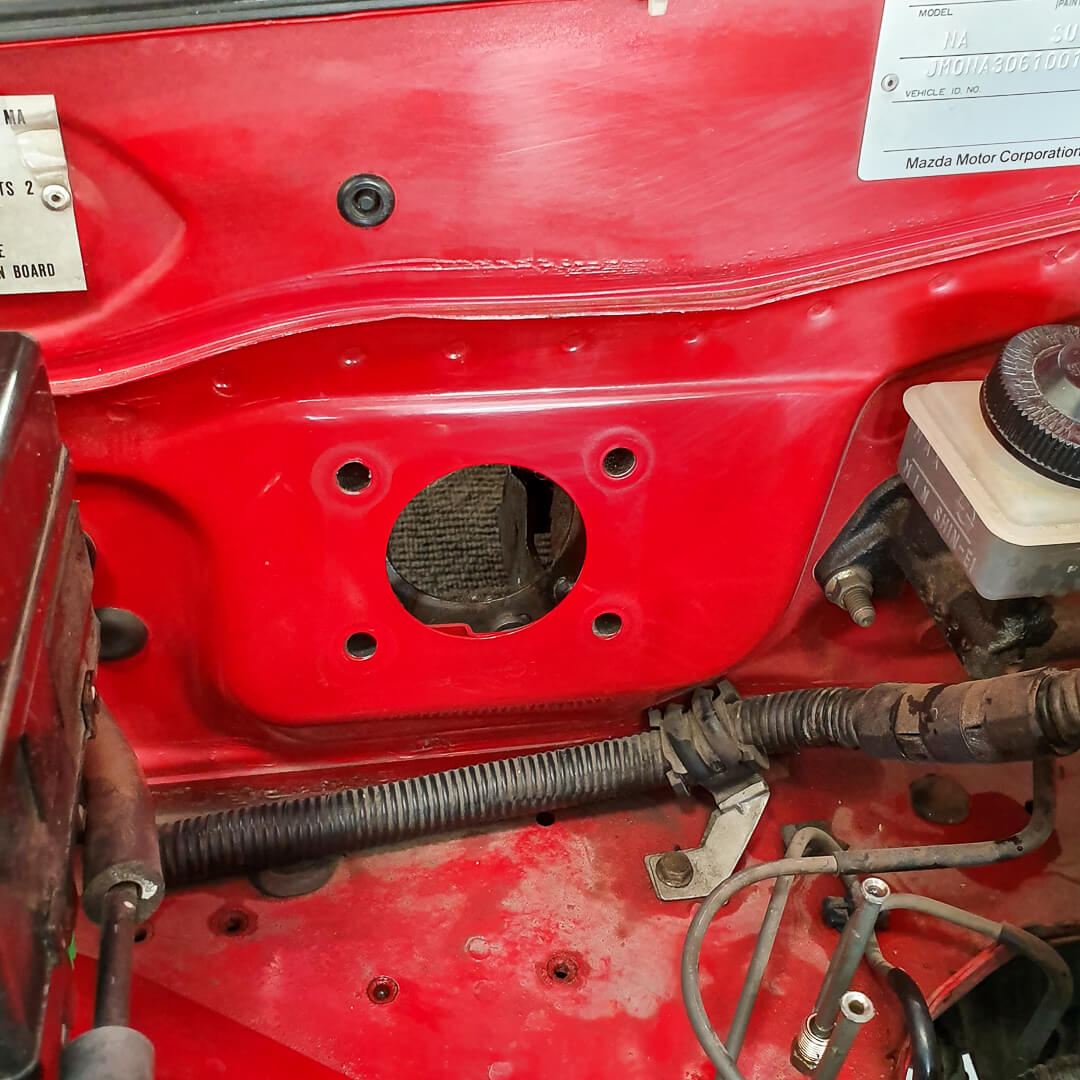
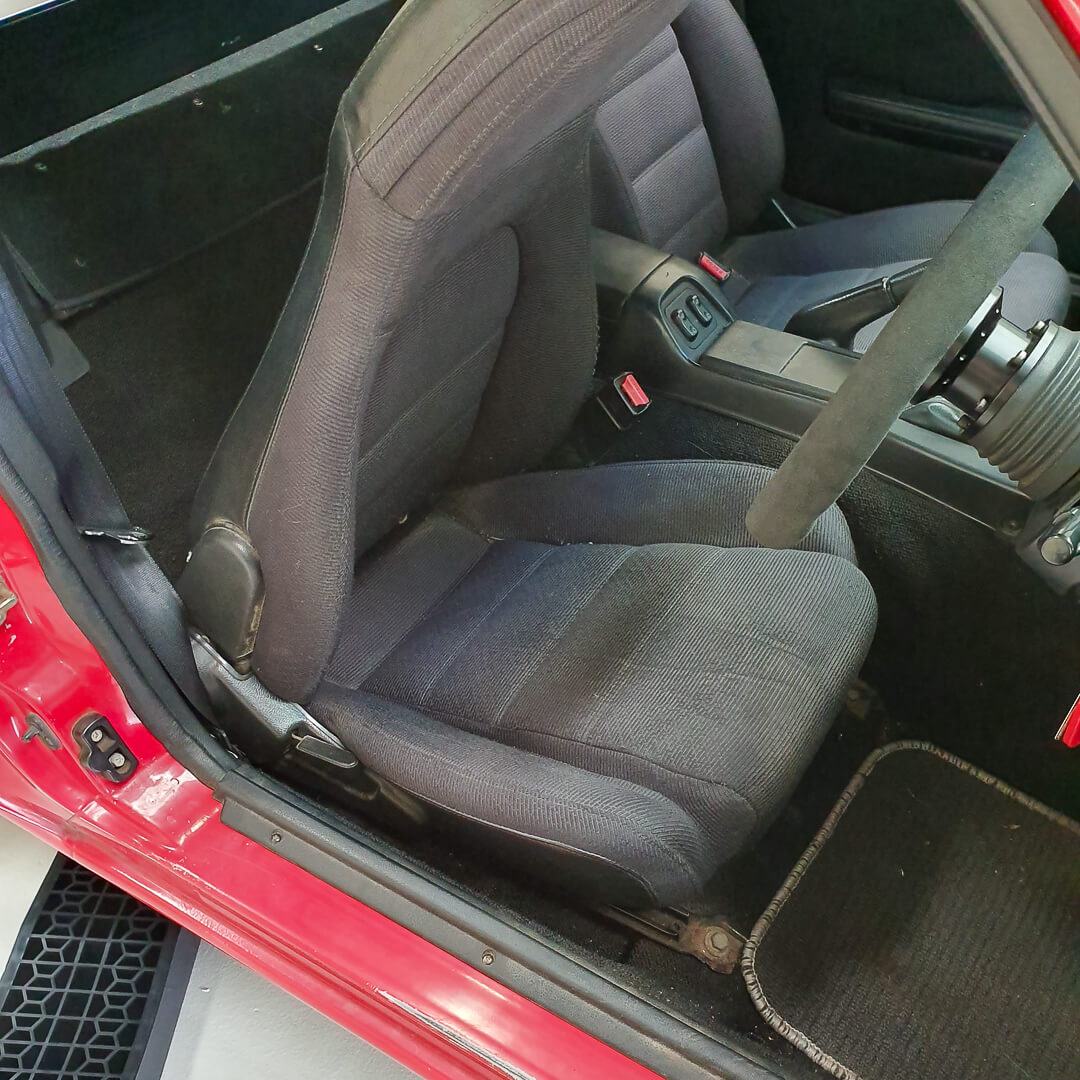
The booster is held in place by four studs on the back side going through the firewall. At this time in the process we need to get under the dash and access the interior side of the pedal assembly. This is much easier if you pull the drivers seat out first.
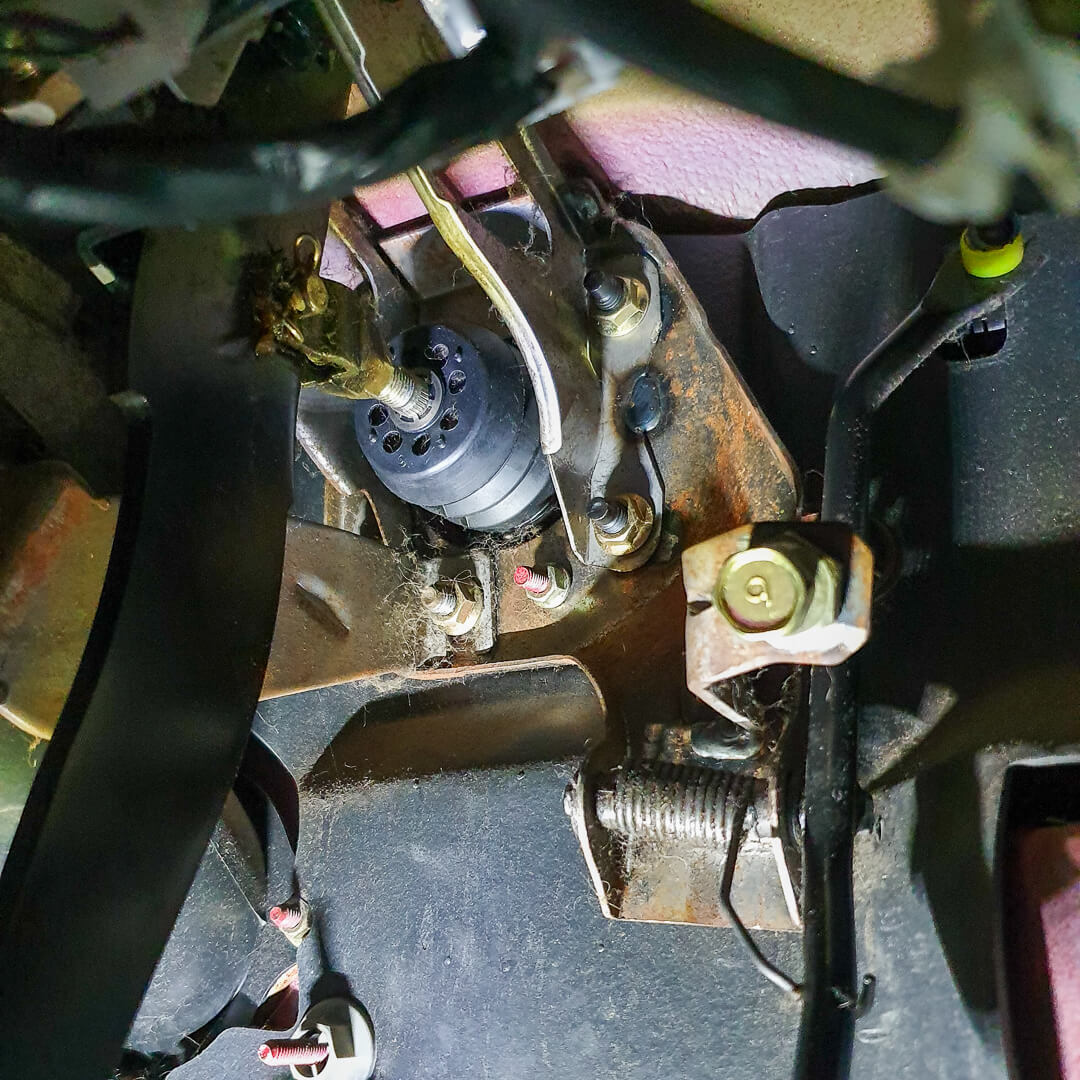
In the foot well it’s necessary to do the following:
- Pull the split-pin out of the clevis pin connecting the pedal to the booster push rod, push the pin out of the pedal and disconnect the pedal from the booster
- Disconnect the pedal return spring
- Undo the bolt that holds the pedal into the bracket assembly and remove the brake pedal
- Undo the four nuts that hold the booster to the firewall
With the pedal out it’s time to drill a new hole for the pushrod clevis in a higher position to change the pedal ratio. Bolt the drilling template to the pedal through the original hole and then use a pilot drill bit to start the new hole in the upper position. Finish the new hole by drilling out to 8mm diameter.


Remove the clevis from the booster and thread it onto the new pushrod, be sure to include the jam nut as well.
Mount the Honed firewall adapter to the firewall and fix it in place with the factory nuts from the inside.
Refit the brake pedal in the pedal box hold off on attaching the return spring.
Insert the new pushrod from the engine bay side and attach to the pedal with the clevis and original pin hardware.
Push pedal to the floor so that the push rod is extended through the adapter, then offer
the new master cylinder up to the pushrod taking care to ensure that the push rod is
engaged into the master cylinder correctly
Attached the master cylinder including it’s original prop valve bracket to the adapter on the provided studs using the original nuts.
It’s possible to bend the original brake lines to suit the new position of the master cylinder which is now 40mm closer to the firewall.
Now’s the time to reattach the pedal return spring.
The final step is to adjust the free play and bleed the brake system.
With this new arrangement, the pushrod can/should be adjusted so there is no free play (but not so far that the master cylinder is depressed)
First Drive
When test driving this new set-up keep in mind that manual brakes will be more dependant on the brake pads and rotors being up to temperature for effective braking and that it may be necessary to allow additional stopping distance for the first few stops when the brakes are cold.