**This post has been transferred from my long running build thread on Honda-Tech.**
I’m going to re-post the thread on this site for the benefit of the people that are not active in the forums but will still appreciate the content.
The photos might not be as good as the more recent posts but there’s still some great content
If you’re interested in the Sedan build you’ll want to read up on the DC2 as well!
A lot of the customs parts such as the tie rod ends, brake booster delete and rear trailing arm modifications were developed on this DC2 Chassis
Enjoy the read
Cheers Grant
Over the weekend I completed the modifications to the trailing arms.
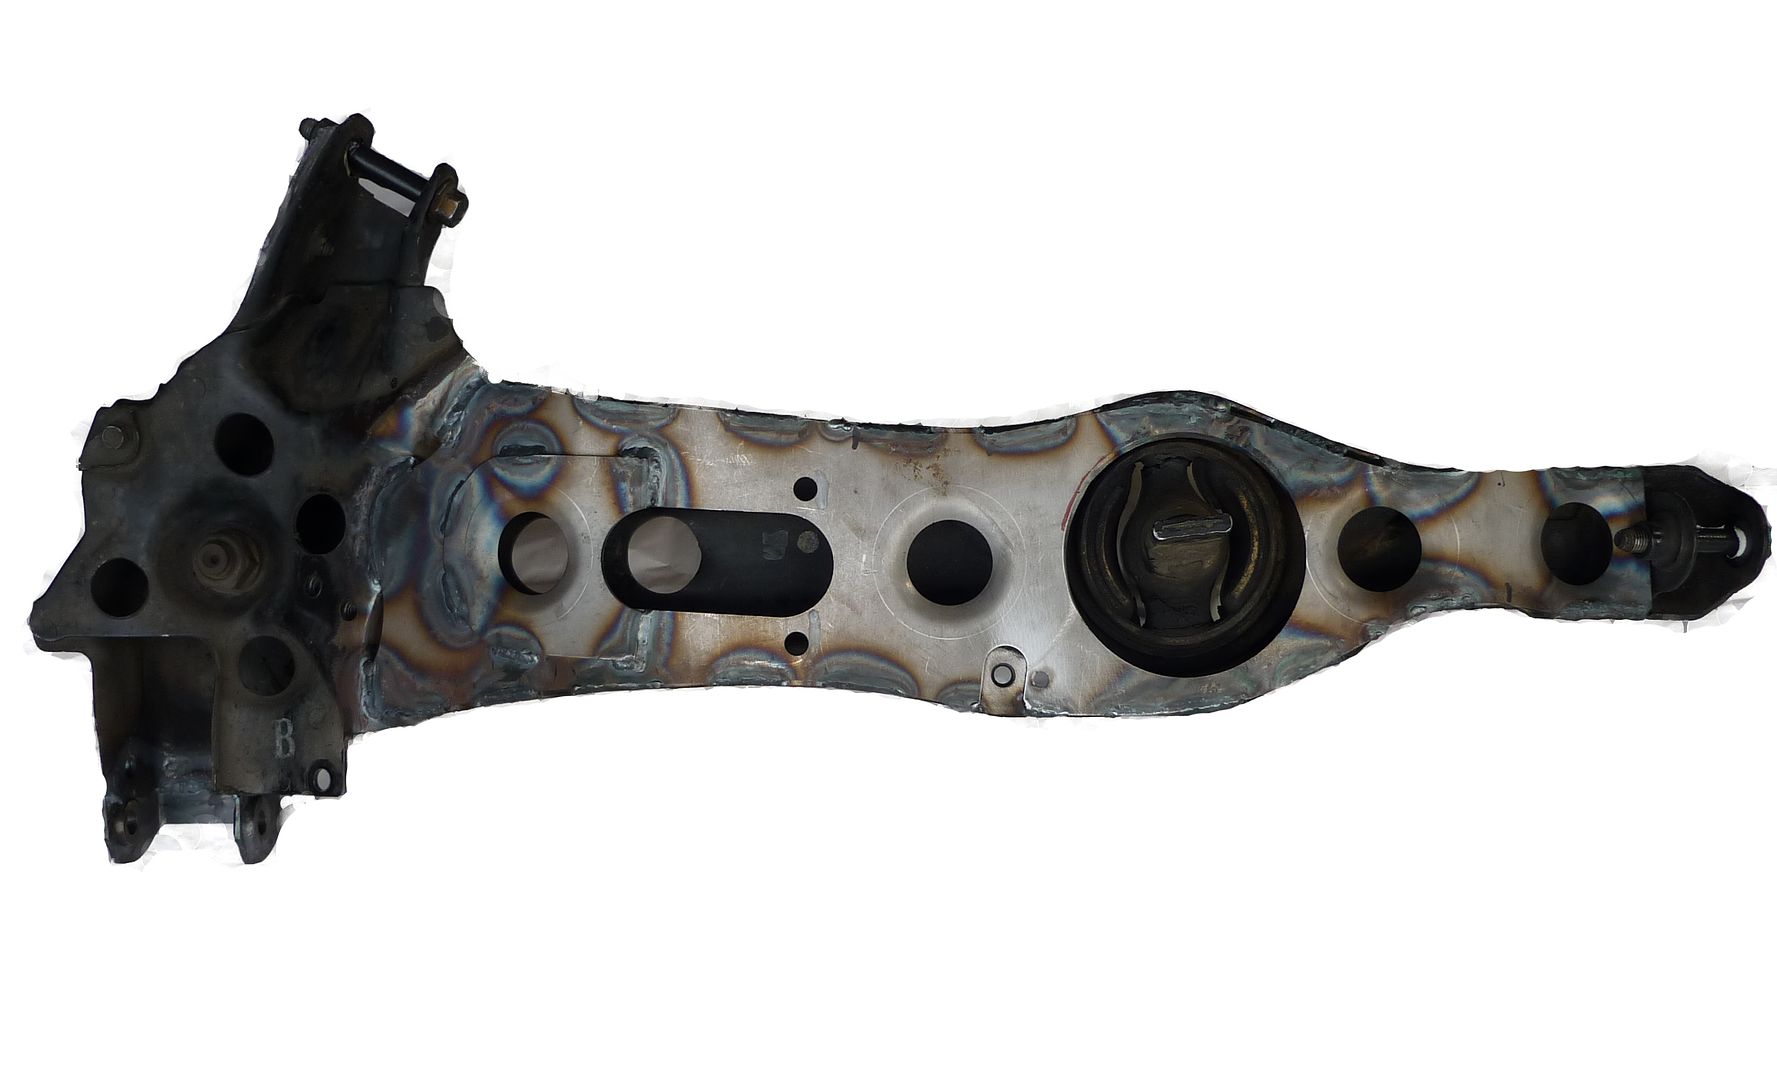
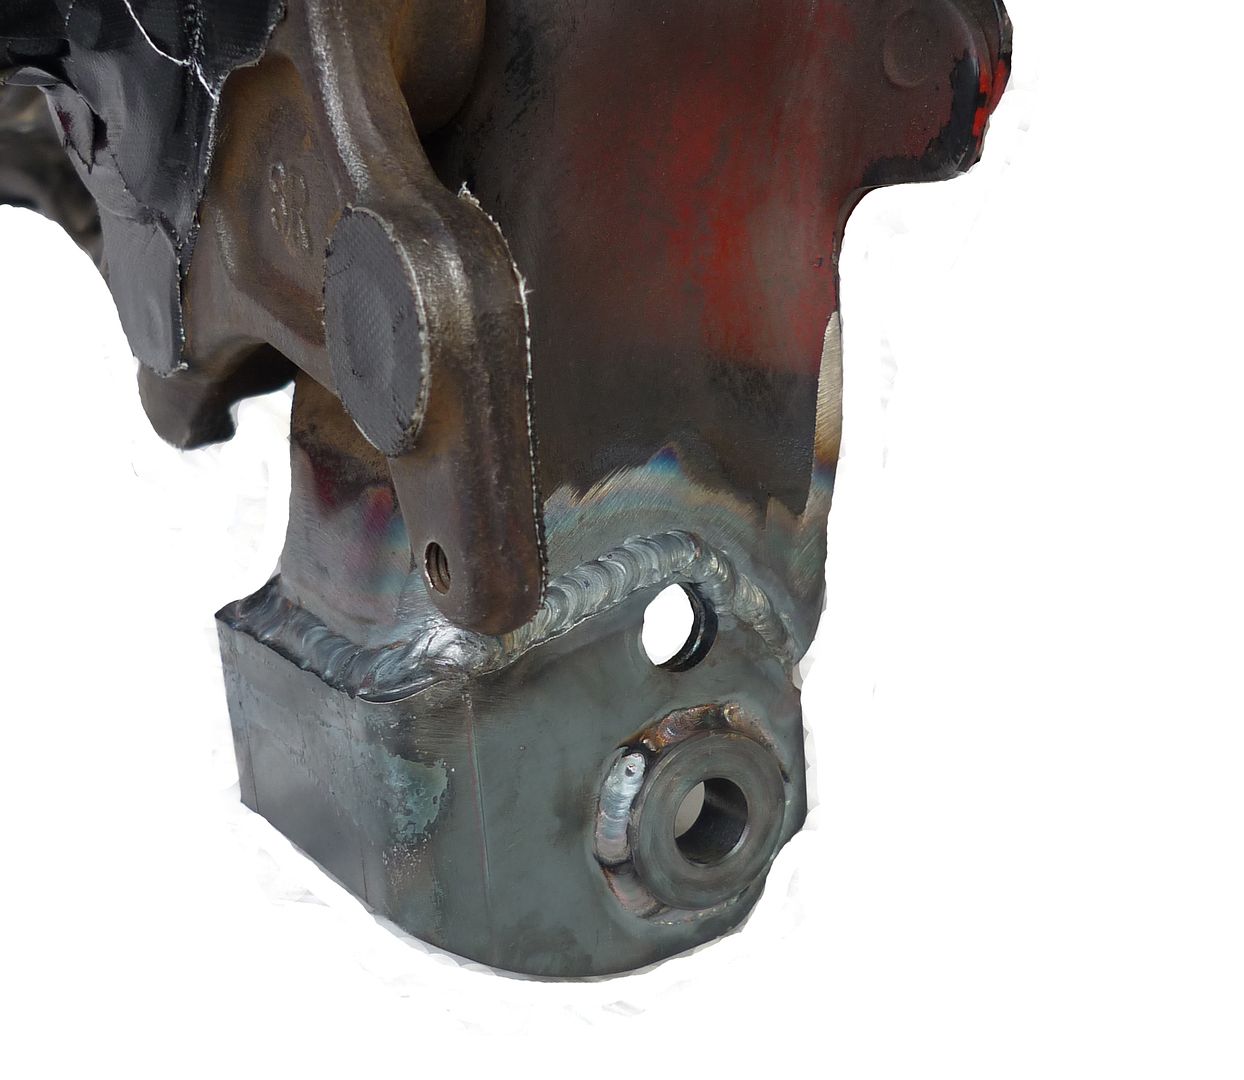
Here you can see how we stitched the trailing arm gusset to the inside of the OEM RTA.
I mocked up a trailing arm with the hub and brake installed to check the routing of the handbrake cable. I found that i could squeeze the handbrake cable into place even with the “bolt on gusset” installed, to keep it easy i decided to change the design to one piece and just weld the secondary plate on for my trailing arms. I’ve refined the profile and plan to get a few extra sets made up.
The relocation of the LCA mounting point worked out really well.
I’ve got the RTA’s masked up ready for sandblasting on Monday. I’ll be getting them powder coated gloss black and should be pressing the new bushes in at the end of next week!
I’ve ordered a set of the Mfactory extended balljoints for the front knuckles
I’m well on the way to having my suspension geometry sorted out, i’m starting to get pretty excited about testing the new set up!
I got the RTA’s sandblasted and powdercoated during the week. Today I replaced the RTA bushes with OEM rubber items.
I’m really happy with how the RTA’s have turned out. I’ll take some clear photos when I get the chance.
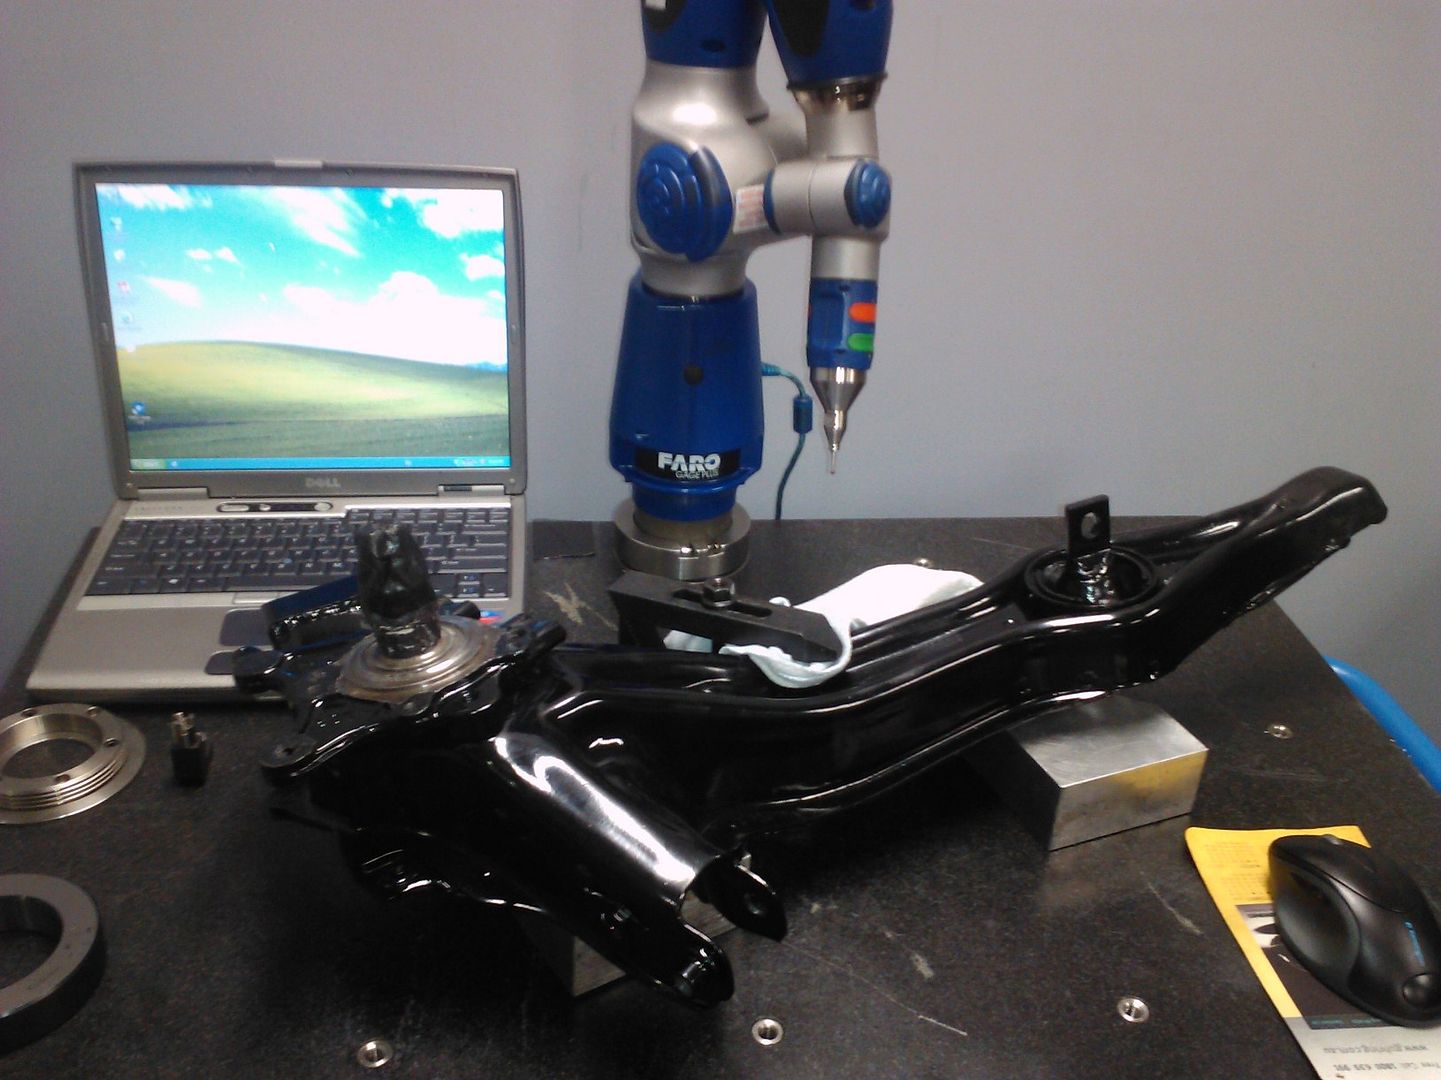
I took the opportunity to measure the RTA with the co-ordinate measurement machine, i love this thing!
The CMM allows the operator to measure anything within it’s working volume to 0.1mm.
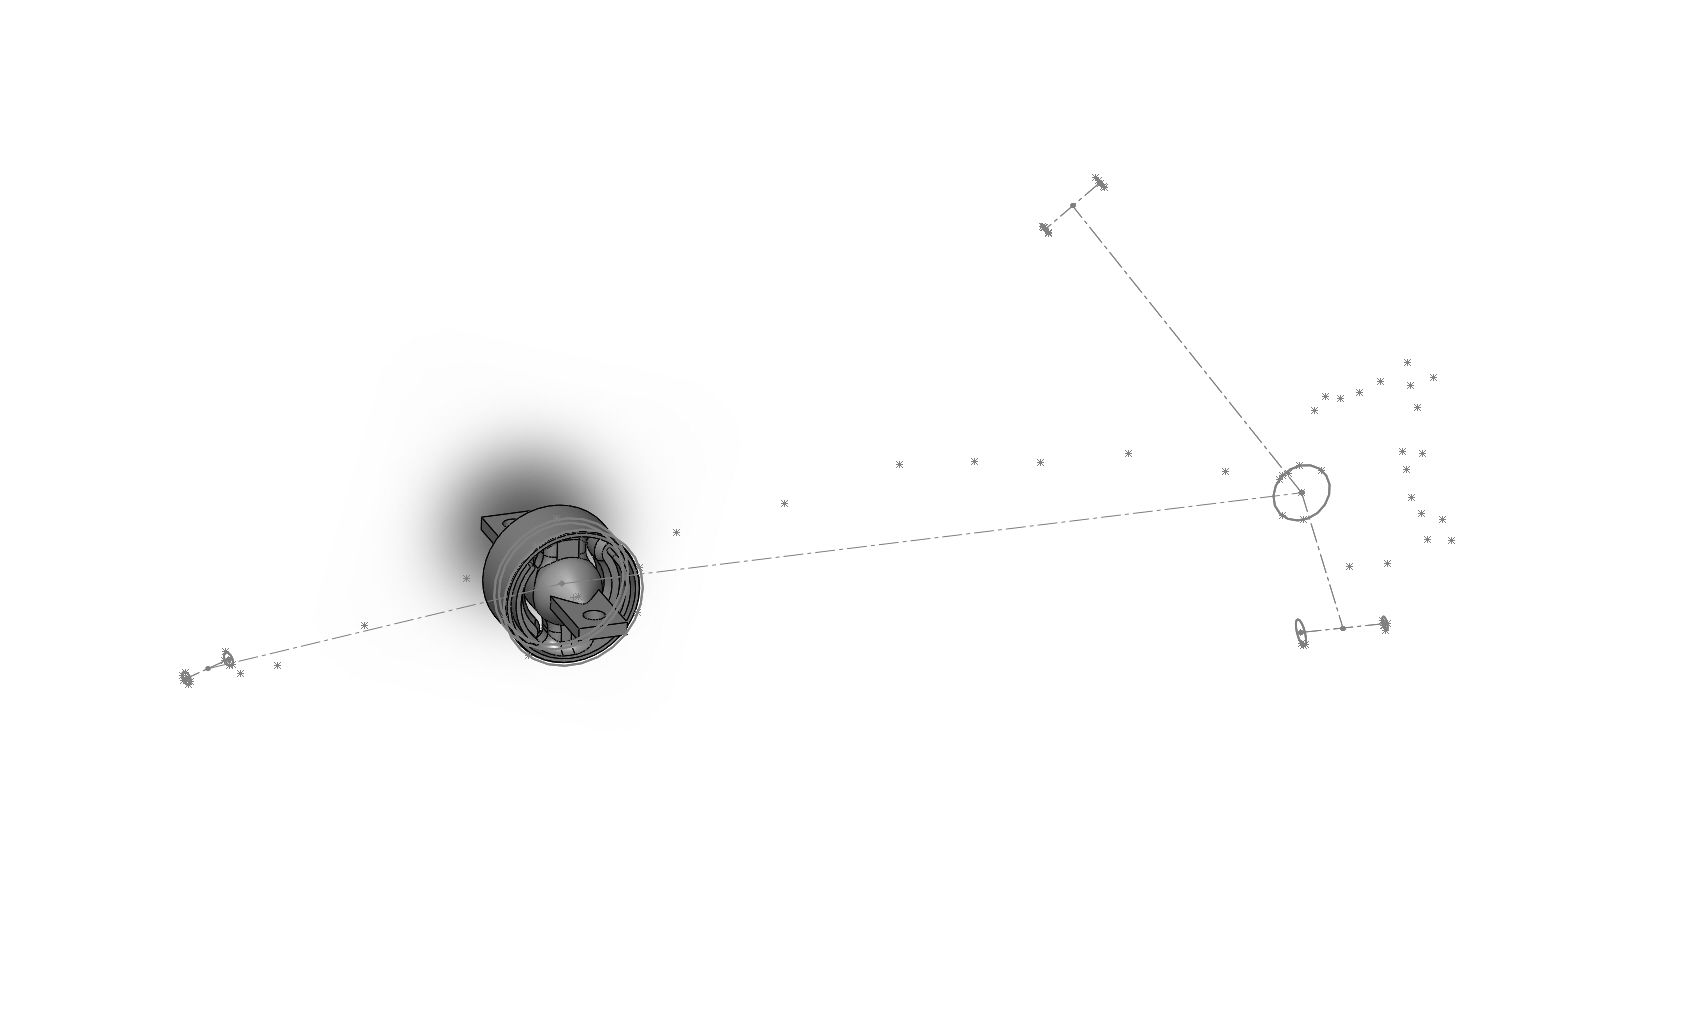
I have imported the points to SW and will update my geometry in Susprog with the more accurate dimensions for the RTA. I super imposed the new points over what I measured with the tape measure and was happy to see most points lined up.
The Mfactory front ball joints haven’t arrived yet, this has given me time to arrange a few other jobs while I have the front suspension apart
I’ve made the decision to replace my front wheel studs and wheel bearings while I have the knuckles off.
The impact that bent the left side upper control arm also bent the top of the knuckle so i’ll be replacing that entire upright.
I’ve acquired a set of stainless cv boot clips and plan to strip the front axles down, clean everything, then rebuild them with Redline CV-2 high temp CV grease.
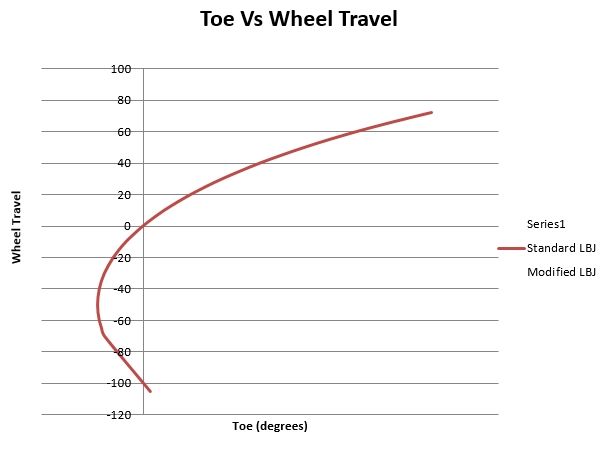
Here’s the plot of Toe vs Wheel travel for the front wheel, with the standard suspension geometry lowered to my current ride height (ie not super slammed). Toe in is to the right hand side of the vertical axis.
You can see the wheels toe in as soon as the front suspension goes into bump. Generally FWD cars like a bit of toe out on the front as it reduces understeer and makes the car more sensitive to driver input.
We can align the car with static toe out but going too far can cause the car to be twitchy under brakes and darty on the straights at high speed.
I’m going to try find a set up where I can get the car to toe out in bump so I can run minimal static toe out.
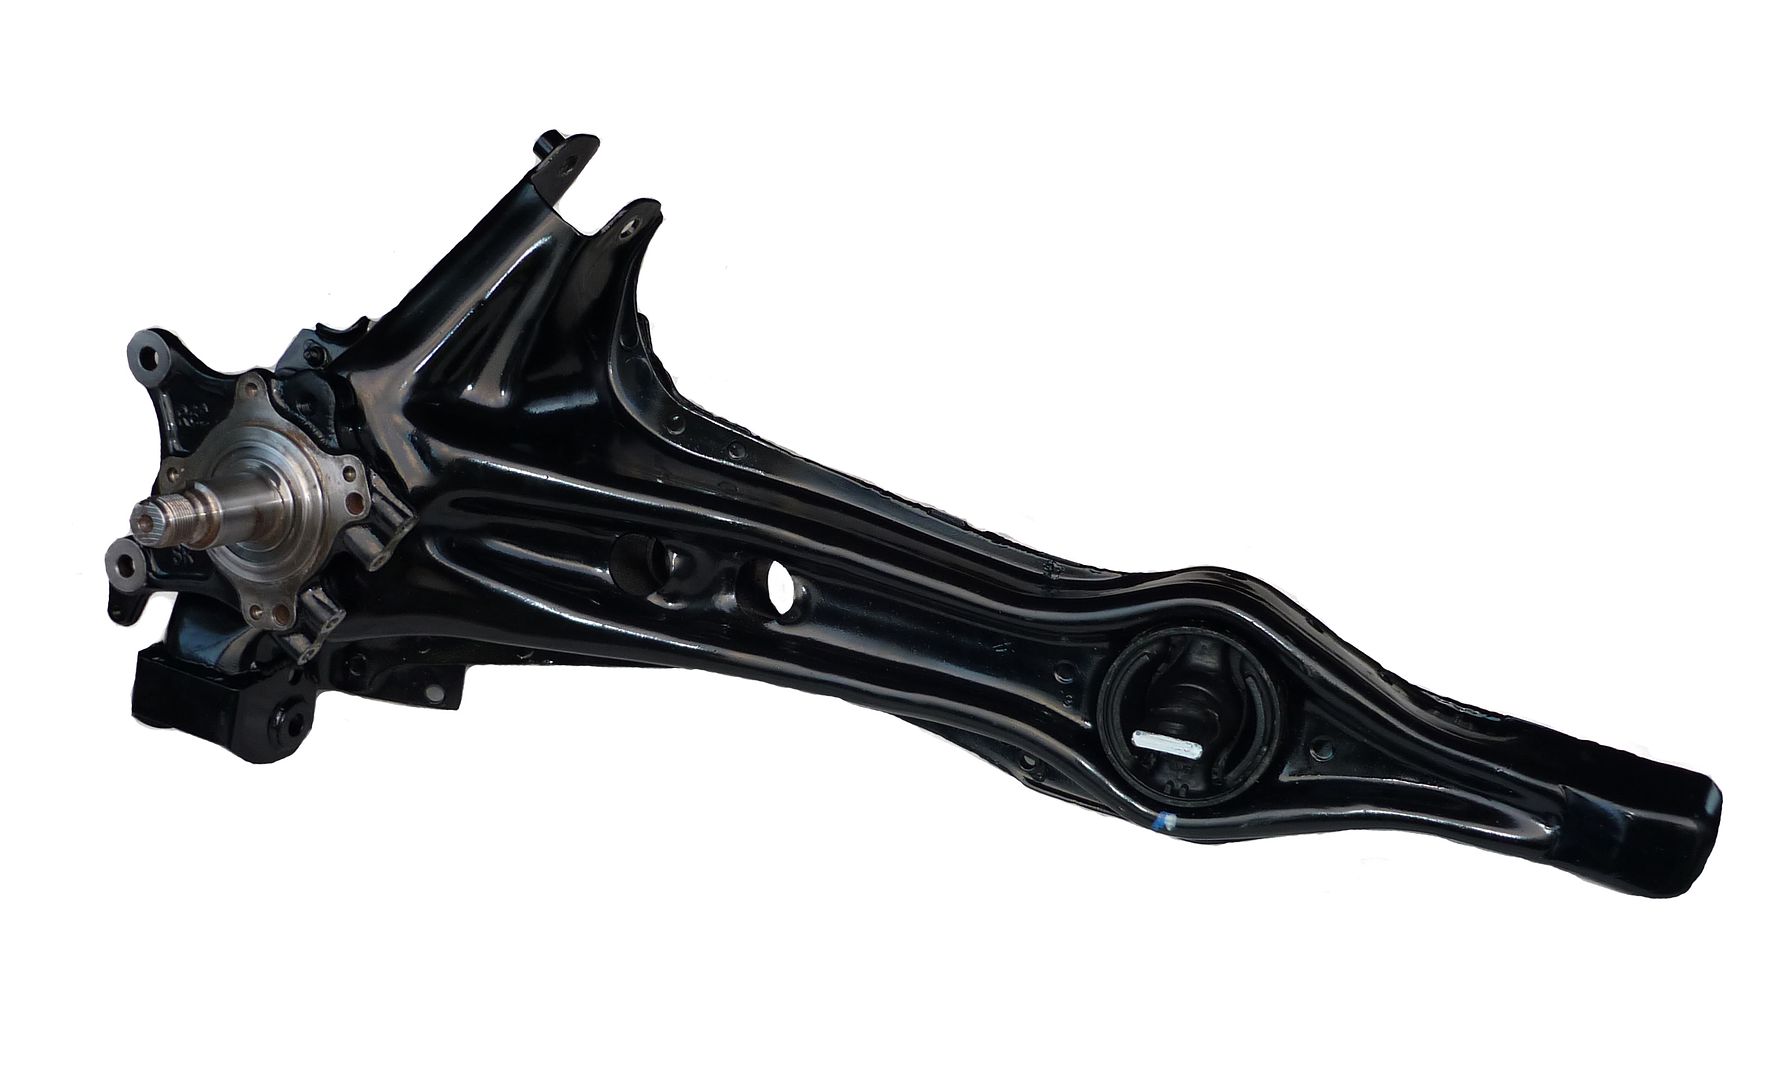
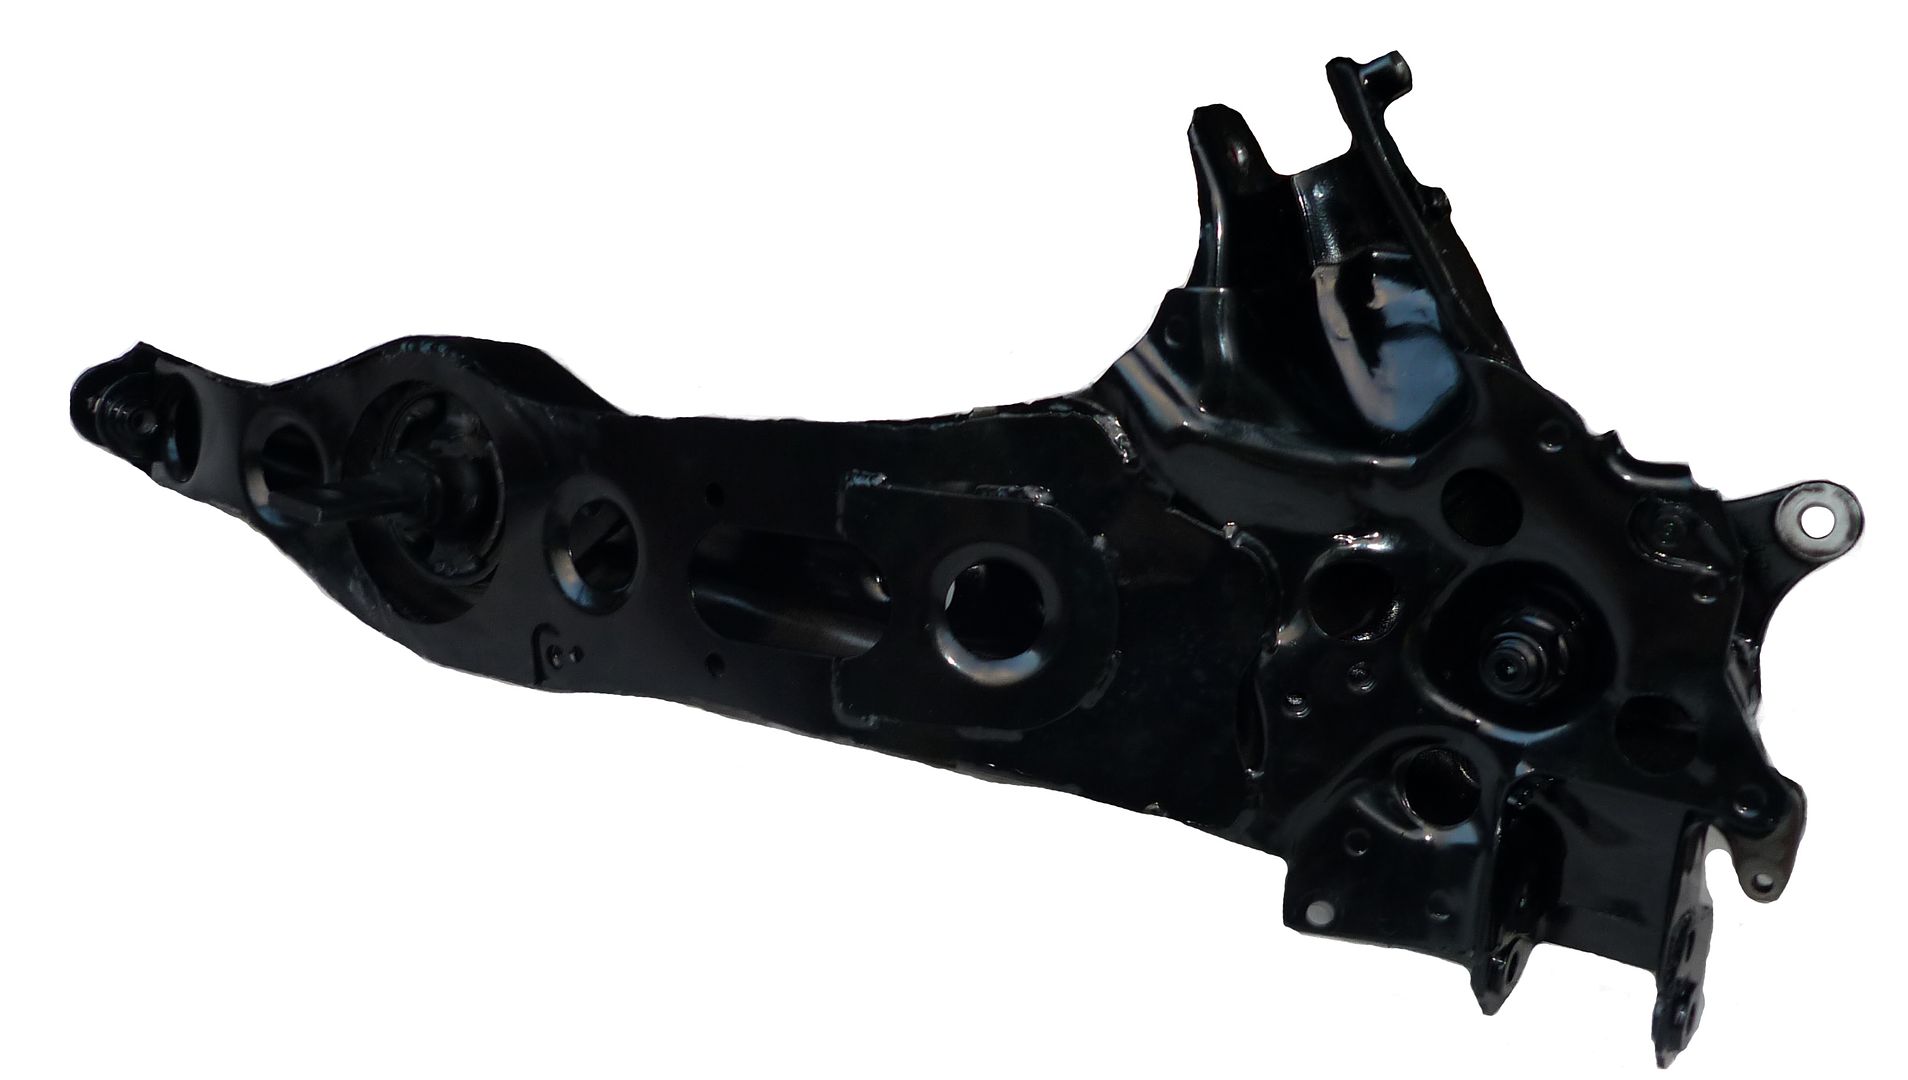
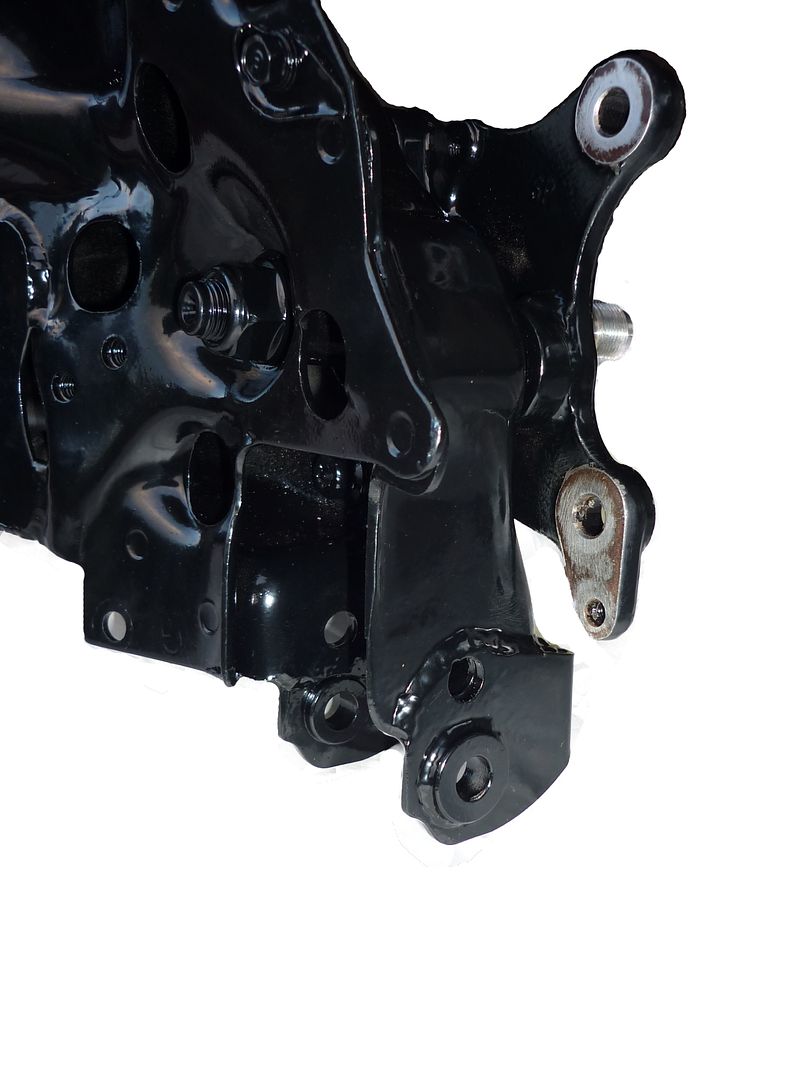
Here’s some clear images of the powder coated RTA

