As part of the continuing development of our booster delete kit I began installing a prototype version in the CR-X over last few days. As I mentioned in my Wakefield Park event recap I’ve never been happy with the pedal feel in the car. It’s not predictable or progressive with plenty of flat spots on my tyres as a testament. I’m sure I’m not that bad at driving either. So it’s time to fix the issue, before I run out of tyre budget. Here’s the basic booster delete kit: the adapter plate, finished in anodised satin black to match the rest of the engine bay scenery, plus the pushrod and master cylinder:
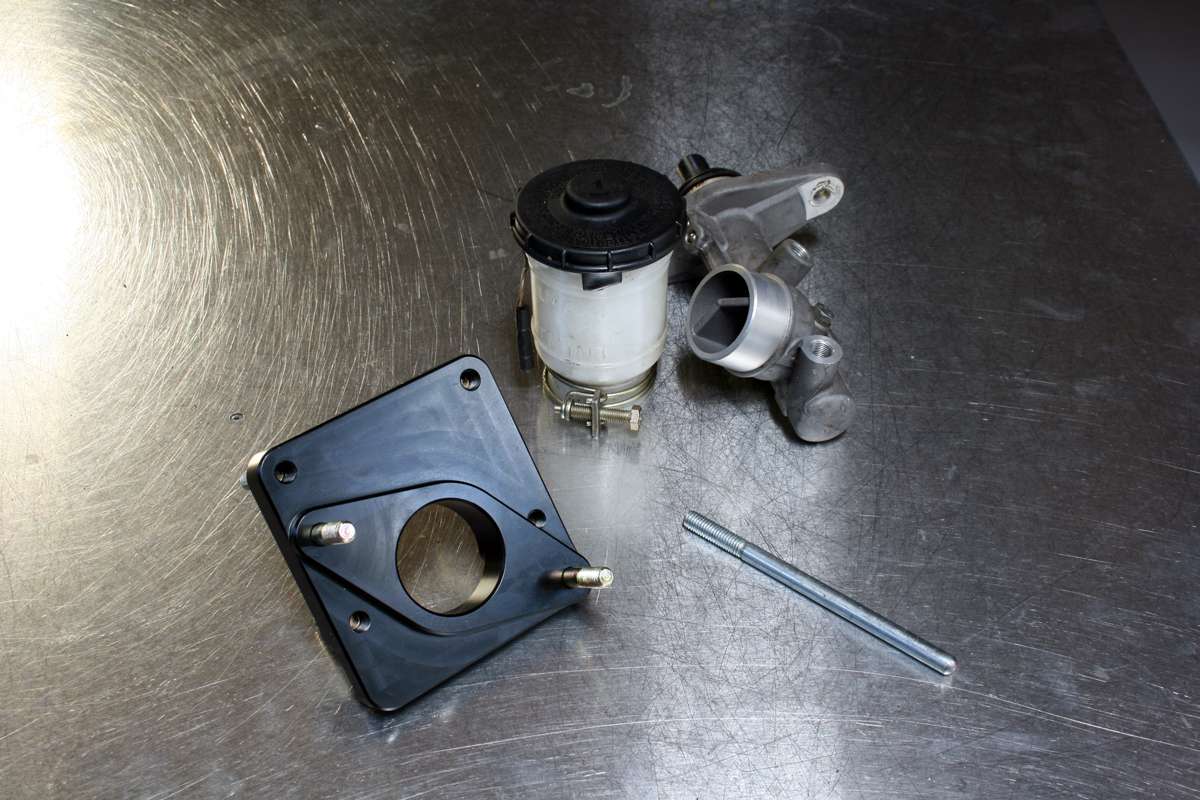
The master cylinder is a 13/16″ part from an ED6 Civic hatch, replacing the original CR-X SiR 15/16″. The 13/16″ diameter will give a good balance of pedal feel and travel with the smaller 262mm braking package on the CR-X, and it was something I had lying around anyway. Furthermore when I upgrade the brakes I’ve got plenty of options to increase the diameter to tune the pedal feel if needed.
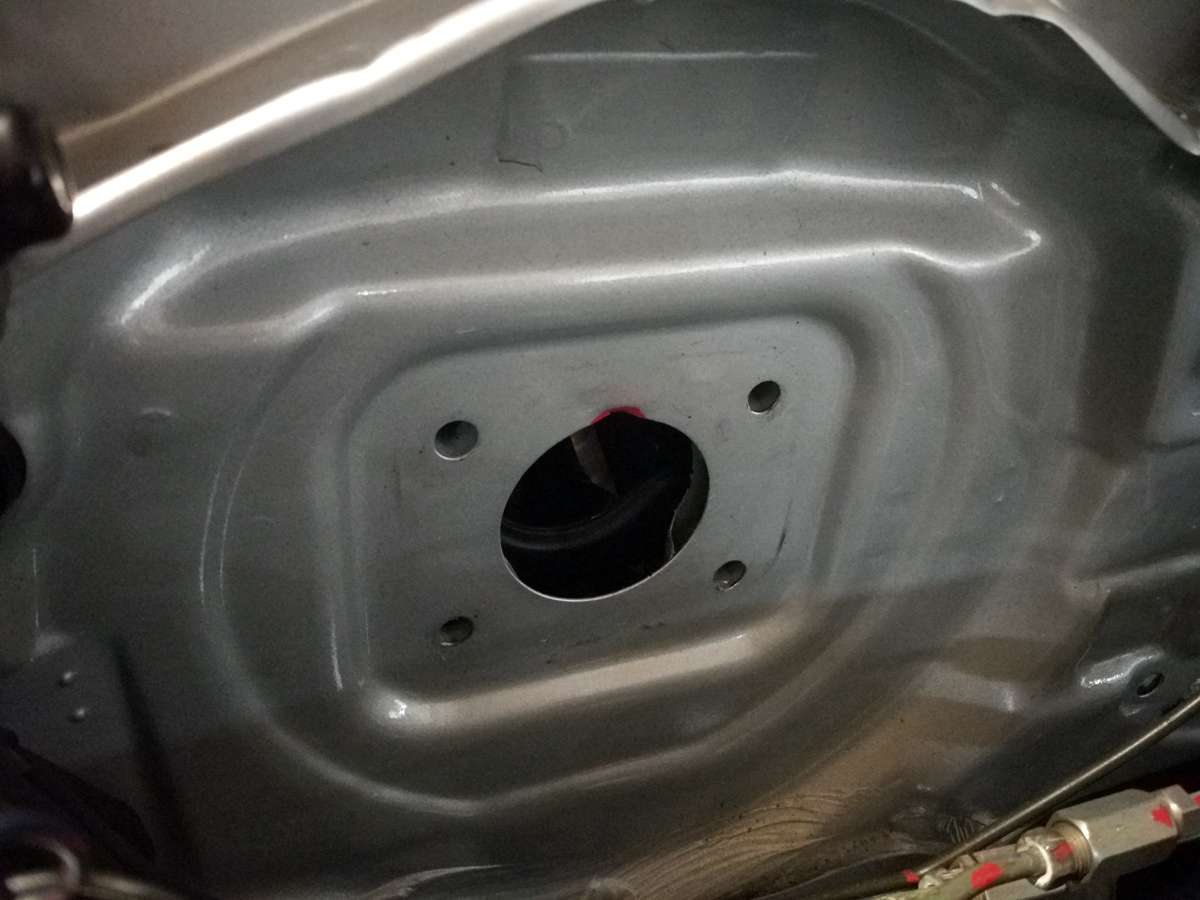
First up I removed the original master cylinder, booster and brake pedal and in the case of the master and booster, relegated them to the bin. Then I needed to grind out a small area of the firewall to give clearance for the master cylinder pushrod, an easy job with a die grinder:
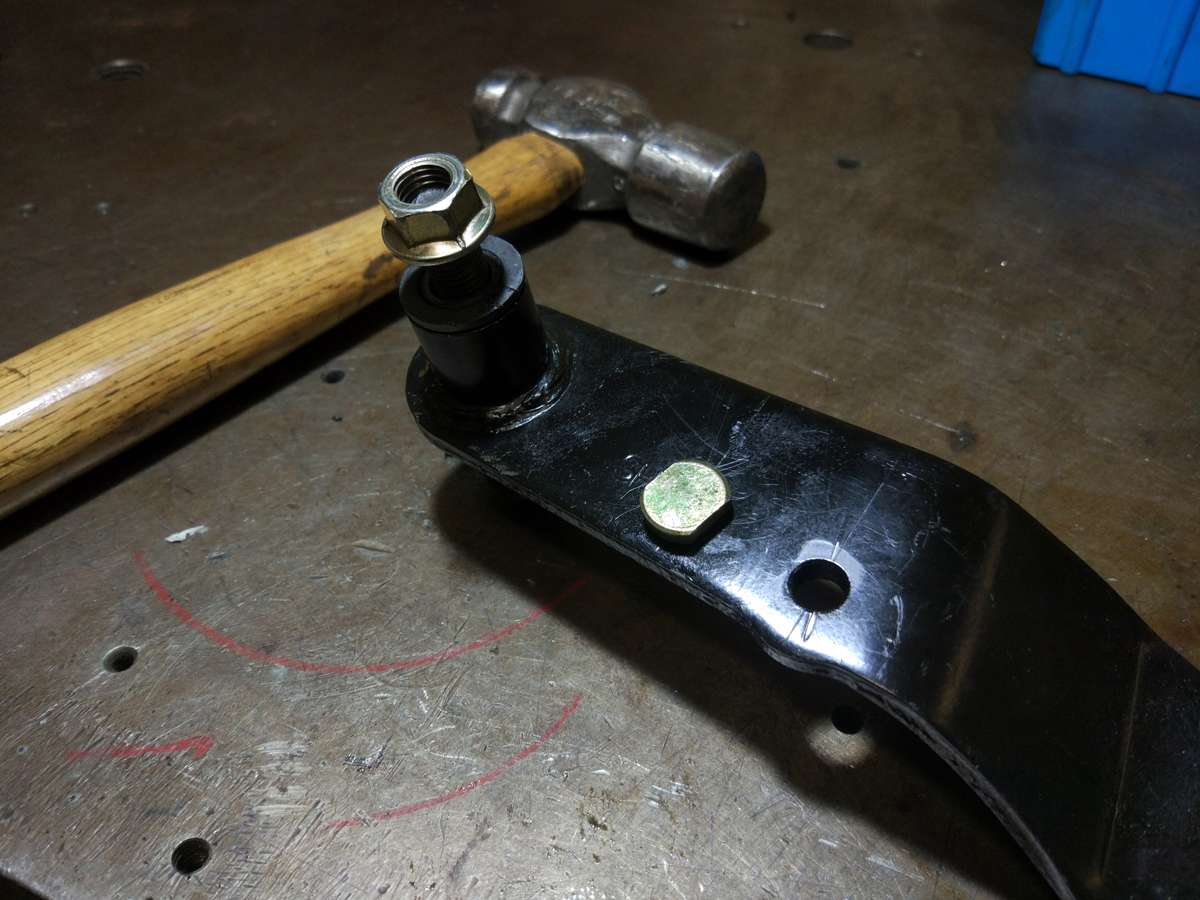
Next task was to drill a new hole in the pedal to correct the pedal ratio. The new hole is closer to the pivot providing a pedal ratio of 6:1. In contrast the stock pedal is about 4:1. Typical of a boosted system, but unacceptable with the booster delete where extra leverage is needed.
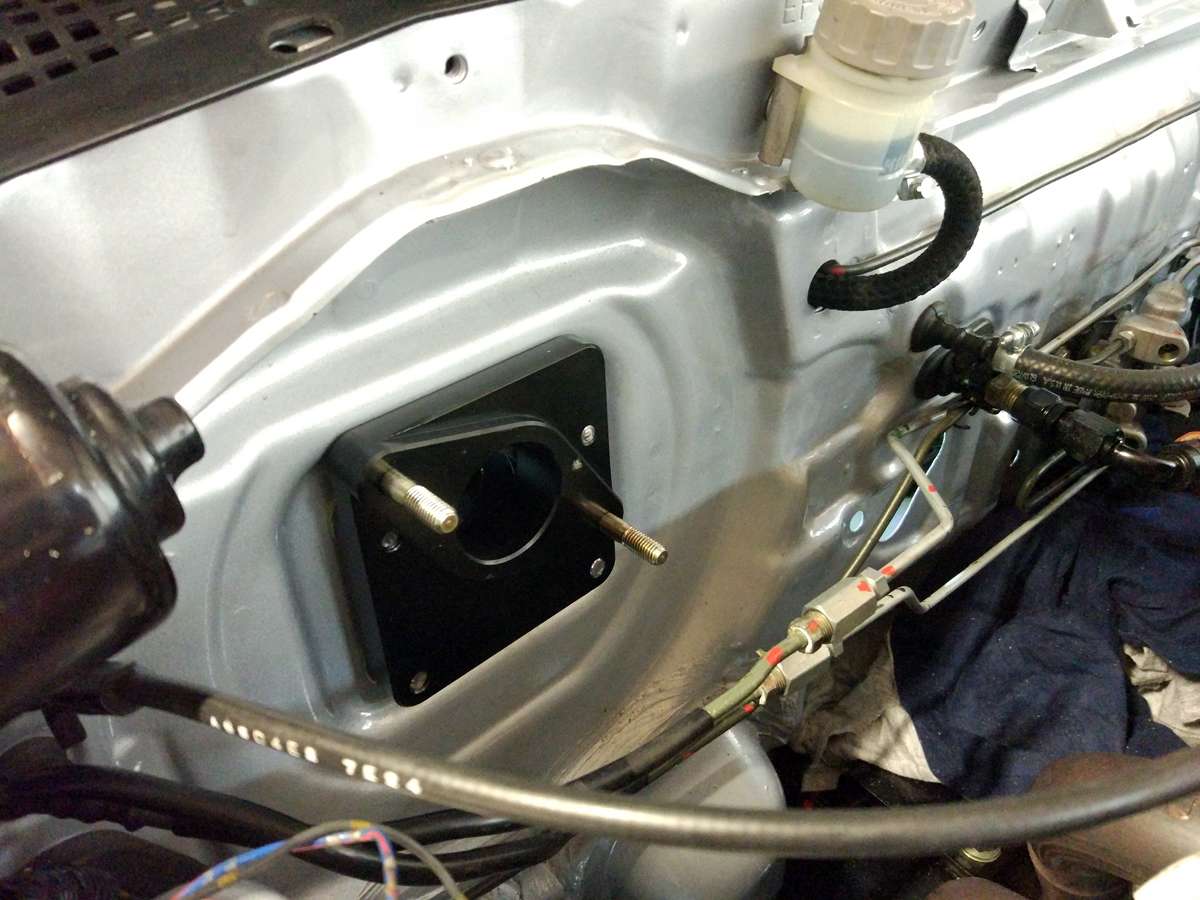
With everything prepared it was time to start reinstalling everything. First up the booster delete plate itself, which has studs on each side to make install easy. I guess as easy as working on anything under the dash of a tiny CR-X is ever going to be.
The next step was to mount up the master cylinder, and install the pedal with the new pushrod.
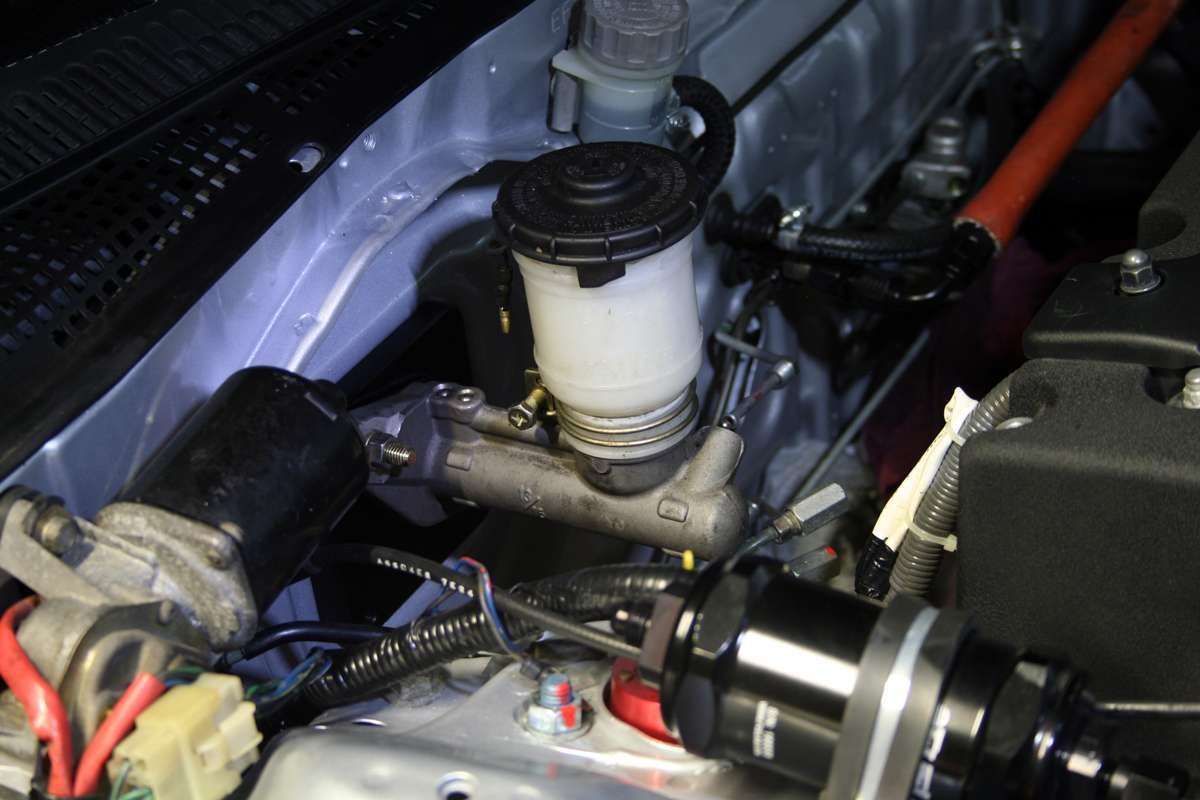
Then I made some new hoses to connect to the proportioning valve, mounted in the middle of the firewall to suit the K24 swap. Firstly I bent up some templates for the hoses using some welding filler rod, and got all the tools I’d need together:
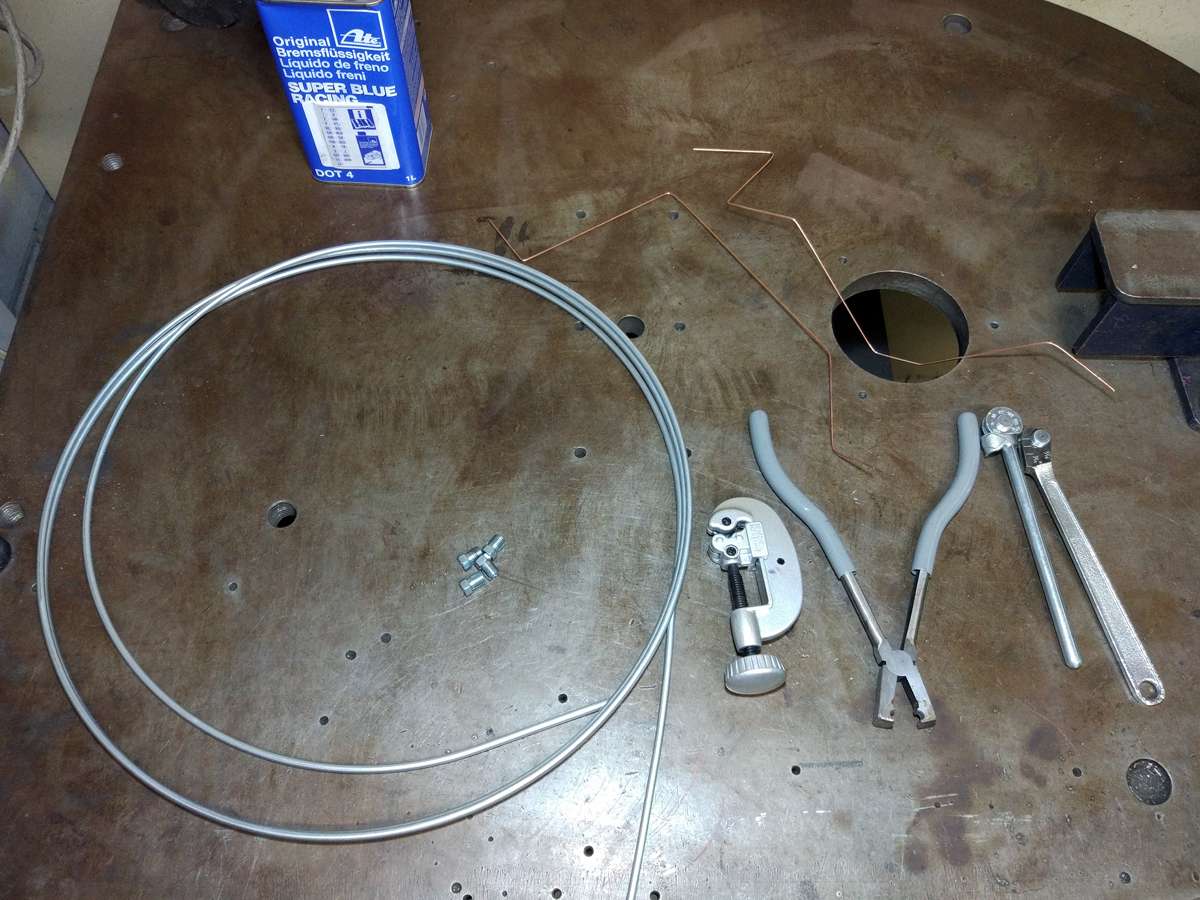
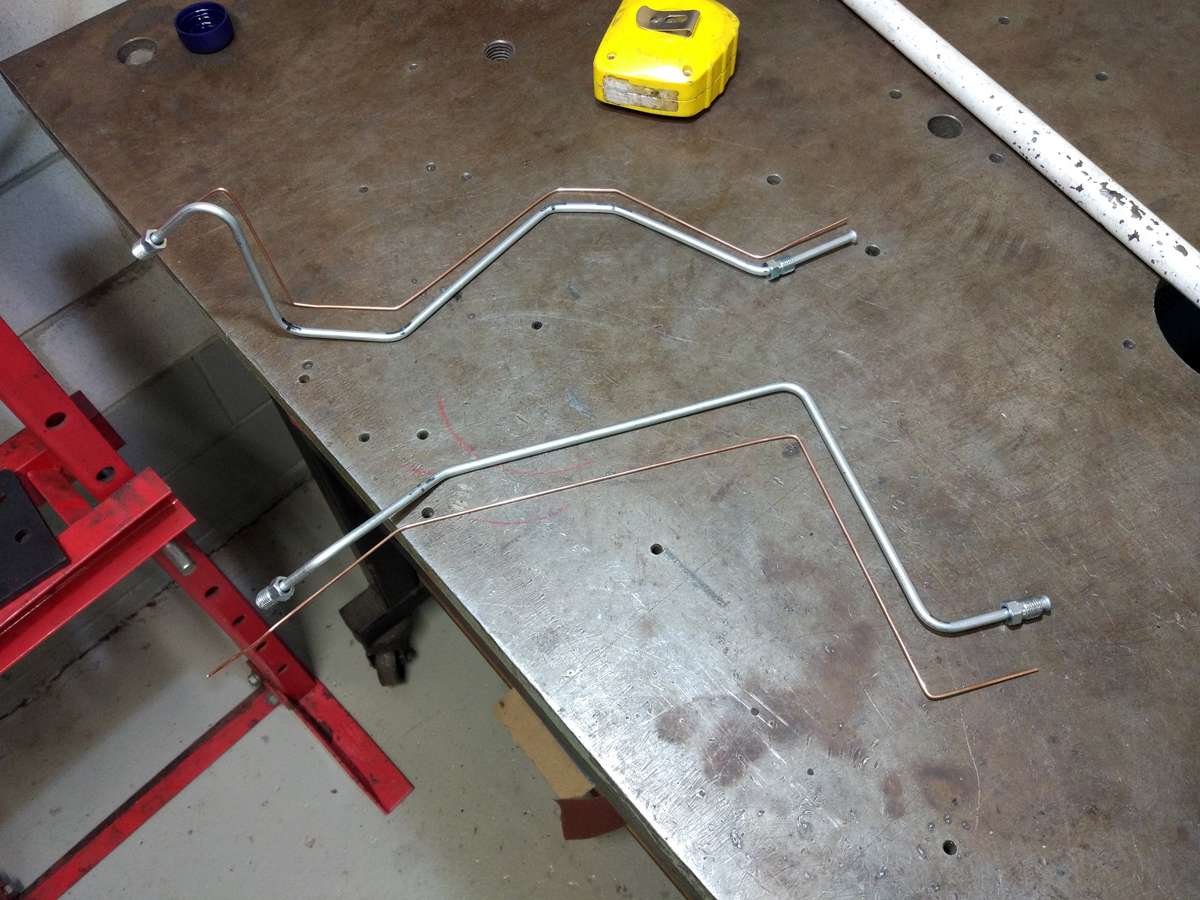
After a bit of cutting, flaring and bending here’s the finished result. I think I’m getting better at making these hoses. After a few more revisions I’ll be confident enough to attempt re-making the hoses to the rear brakes:
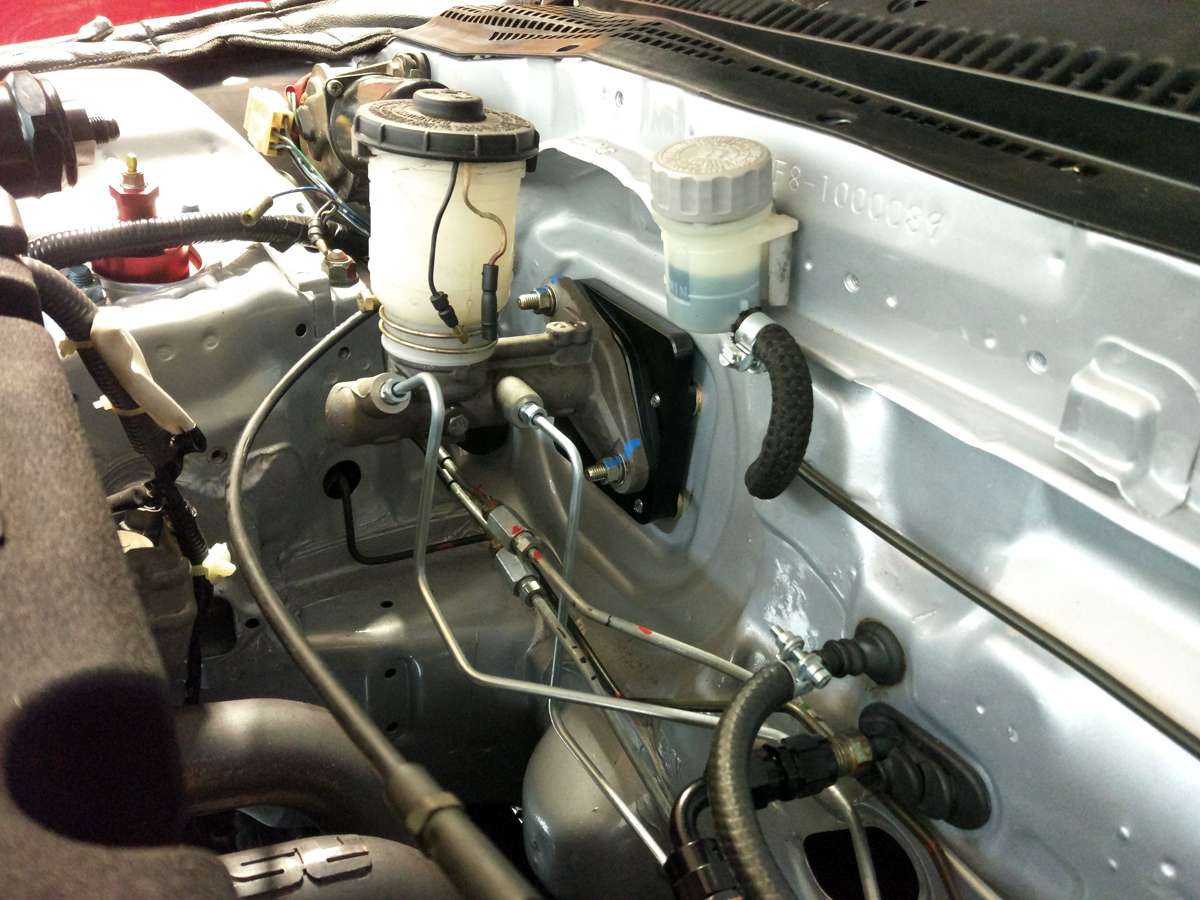
Then all that remained then was to fit up the hoses, fill up the reservoir with some Motul RBF600 and give the brakes a quick bleed.
Next up we’ll get the car on track and report back with some impressions, and lap times. If you’re interested in a kit drop us an email at sales@honeddevelopments.com and we will let you know as soon as they’re in stock.
– Tom
